
Honda Civic How to Replace the Rear Speakers
If you have a Civic and like listening to music, you can’t fail to notice how poor the factory
speakers are, and if you looked at the coupe speakers your probably asking how to
change the rear speakers? I know I was – and when you read this you will probably think
“there has to be an easier way!”. Well there isn’t, not without damaging the interior trim
anyway. This is a big thumbs down to Honda’s design team, though they probably had a
good reason for doing it this way (I hope!).
Here is a quick guide to on how to remove the rear speakers form a coupe – with pictures
and FREE. The process may or may not be the same for 1992-1995 models, I haven’t
seen one to compare.
Please do not be put off by this, it really is easy when you know how and the results from
quality speakers are well worth the effort.
Standard disclaimer: The instructions given below are intended as guidelines only. Any
dismantling of your vehicle you do yourself, and the author of this document cannot and
does not accept any responsibility for any damage incurred by you dismantling or refitting
components incorrectly.
Tools Required:
•
10mm Socket
•
12mm Socket
•
14mm Socket
•
Phillips Screwdriver
Honda Civic How to Replace the Rear Speakers
Know your enemy: Rear seats have a 40/60 split and can be folded down, but to get to the
speakers they have to come out…
Honda Civic How to Replace the Rear Speakers
Fold down both seats and unclip the carpet trim from the back (just pull the carpet and the
clips should pop out). Yep, that’s my big sub woofer.
Honda Civic How to Replace the Rear Speakers
You need to unbolt the 4 10mm bolts holding the 40 seat in place, you can then pull it
towards you and out.

Honda Civic How to Replace the Rear Speakers
Also do the two bolts holding in the 60 split seat.
Honda Civic How to Replace the Rear Speakers
Next you need to unbolt the 10mm bolt on the right, then the 12mm on the left. Keep the
bolts and brackets safe. When they are undone the 60 split seat should be able to come
out.
Honda Civic How to Replace the Rear Speakers
Another 12mm bolt on this bracket.
Honda Civic How to Replace the Rear Speakers
Towards the centre of the seat is another 10mm bolt holding the lower seat in. Undo this
and the seat should lift up from the back and unclip from the front.
Honda Civic How to Replace the Rear Speakers
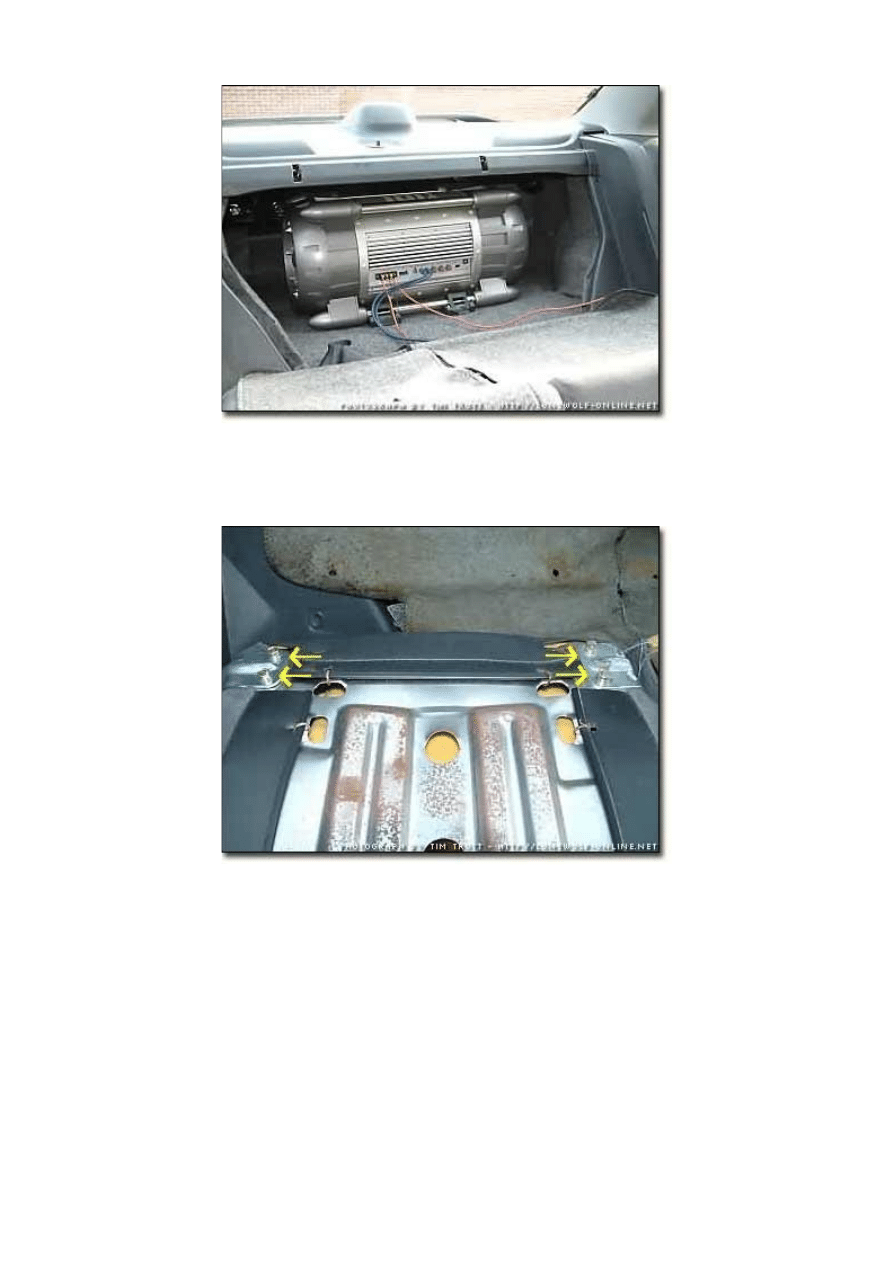
Now the seats are out, nearly there….
Honda Civic How to Replace the Rear Speakers
…Well actually I lied, were not half way yet!
You need to loosen the right hand bolt (closest to the front seats) and undo the rear one.
They were 14mm bolts on mine. Do both sides of the car.

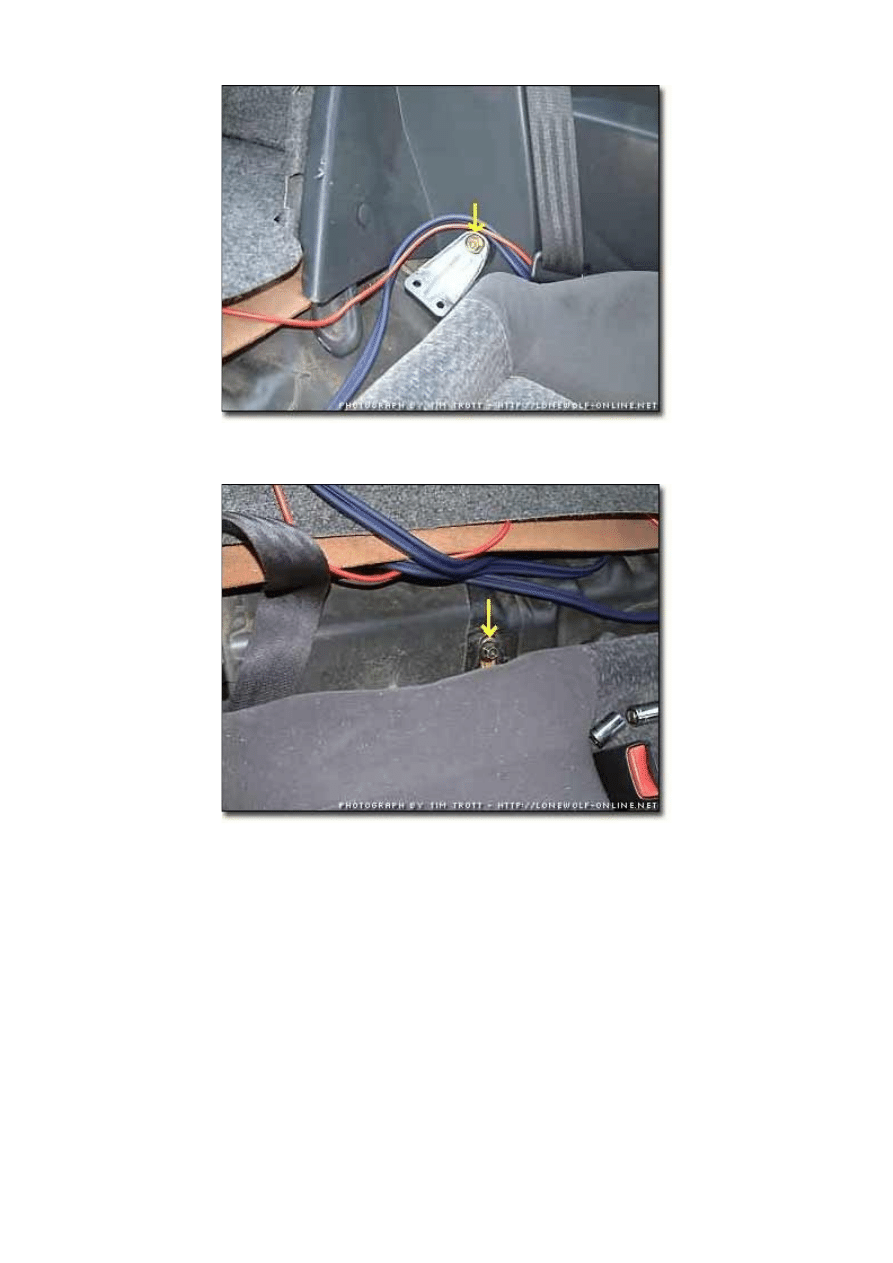
Honda Civic How to Replace the Rear Speakers
Should have something like this…
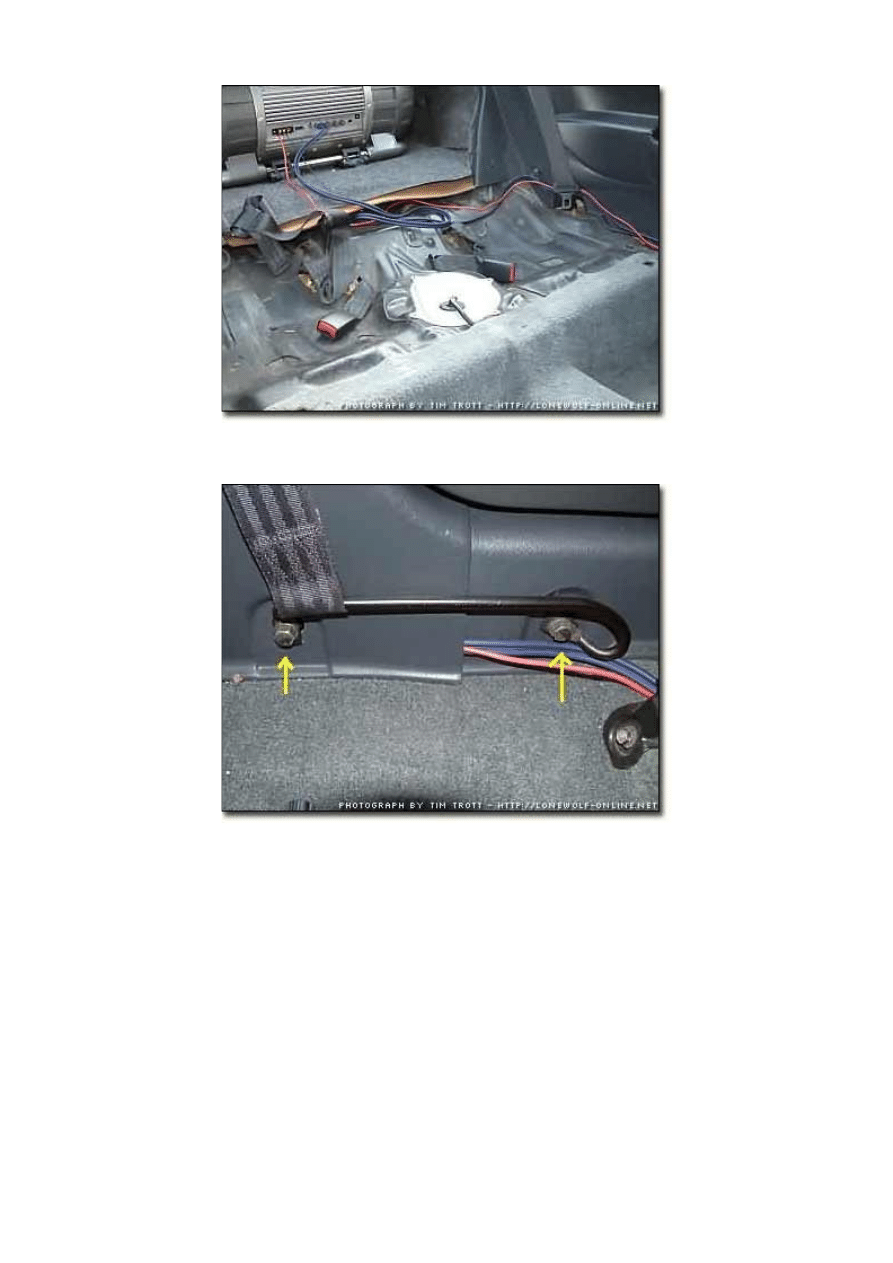
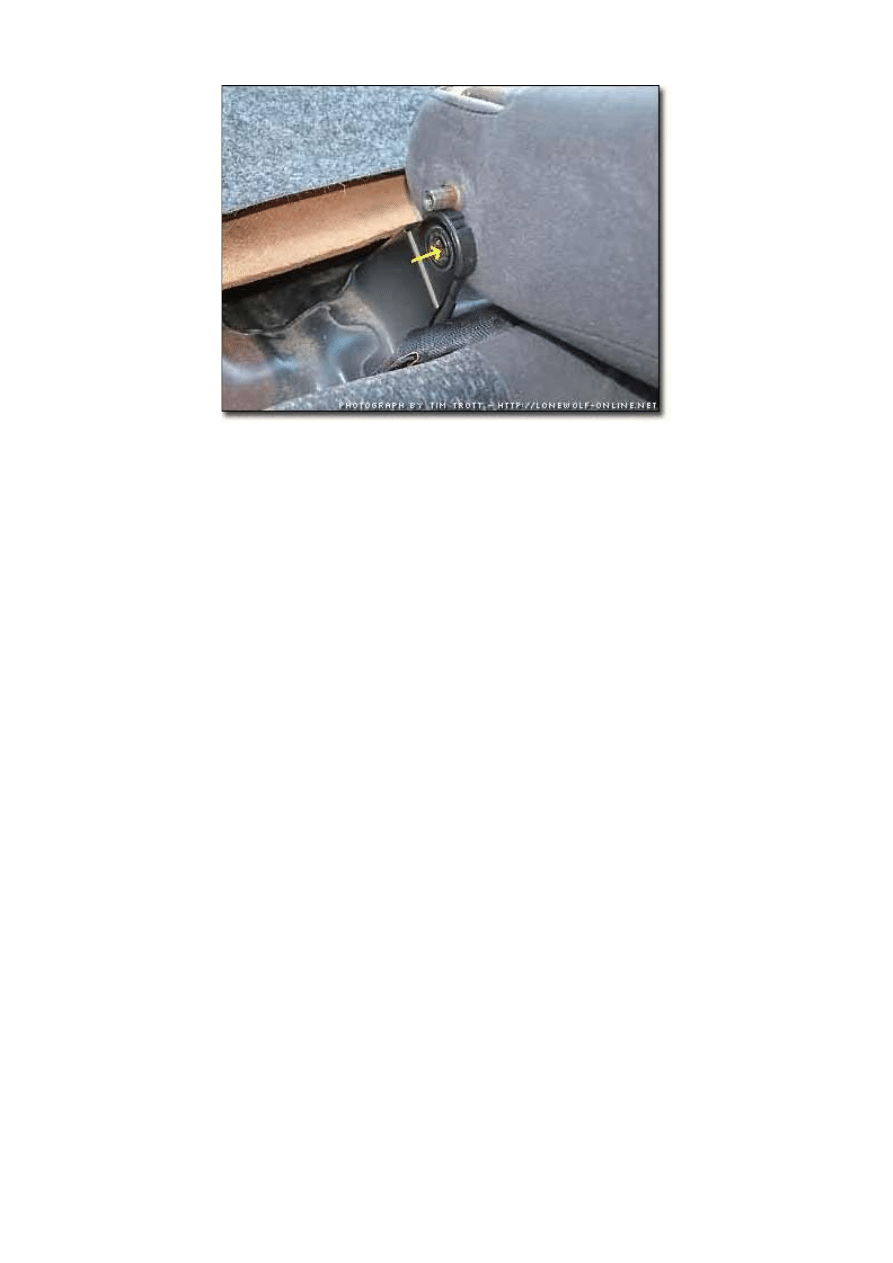
Honda Civic How to Replace the Rear Speakers
Undo the Phillips screw in each rear panel…

Honda Civic How to Replace the Rear Speakers
The panels should unclip from the door frame and come out quite easily. The plastic cover
on the parcel shelf (rear deck) should now unclip at the front to allow you to lift and pop the
other clips. It will then come out.
Honda Civic How to Replace the Rear Speakers
You can now unclip and unscrew the old speakers and drop in your new ones. I’m putting
in my Kenwood KFC9605 speakers. Make sure that they work and you are happy with
them before you reassemble the car, you don’t want to be doing this again in a hurry!!
Honda Civic How to Replace the Rear Speakers
Reassembly of the car is the reverse of the above process.
Just watch out on the 60 split seat, make sure you put the hinge in the bearing before you
bolt it down!
Please, please, please make sure you torque everything properly, most importantly the
seat belts. I cannot stress how important this is.
According to the Haynes manual for the 1995-2000 Civic, all seatbelt fastenings
(buckle bolts, reel bolt and pretensioners) should be torqued down to 32Nm or
24 lbf ft.
If you are in any doubt, please get a qualified professional to check. I will not be
held accountable if this is done incorrectly.
That’s it all done, now turn up the volume and enjoy your new setup! For best results,
consider upgrading the front speakers as well (you can just pop the fascia off and unscrew
those!)
Document Outline
Wyszukiwarka
Podobne podstrony:
How to Replace the DVD Laser of an RNS e
How to read the equine ECG id 2 Nieznany
How to summons the dead
How to Install the Power Quality Teaching Toy
Fearless Interviewing How to Win the Job by Communicating with Confidence
How to Use the Electrical Wiring Diagram
How to get the new iPod Touch(8GB) for nothing (easy to complete)
How to Get the Most Out of Conversation Escalation
how to use the flash tool for Xperia
How to Meditate the Silva Method
How to Examine the Nervous System
How to Play the Brain Game for Fun and Profit
How To Gyp The Tv Repairman
Dane Rudhyar HOW TO INTERPRET THE LUNAR NODES
How to Use the Overall EWD
Ross Jeffries How to Get the Women you?sire into?d
How to read the equine ECG id 2 Nieznany
How to summons the dead
How to Install the Power Quality Teaching Toy
więcej podobnych podstron