Anything I Can Do - Project # 30
READ MAG'S WEEKLY NEWSPAPER COLUMN!
in
Project # 30
Burning For It
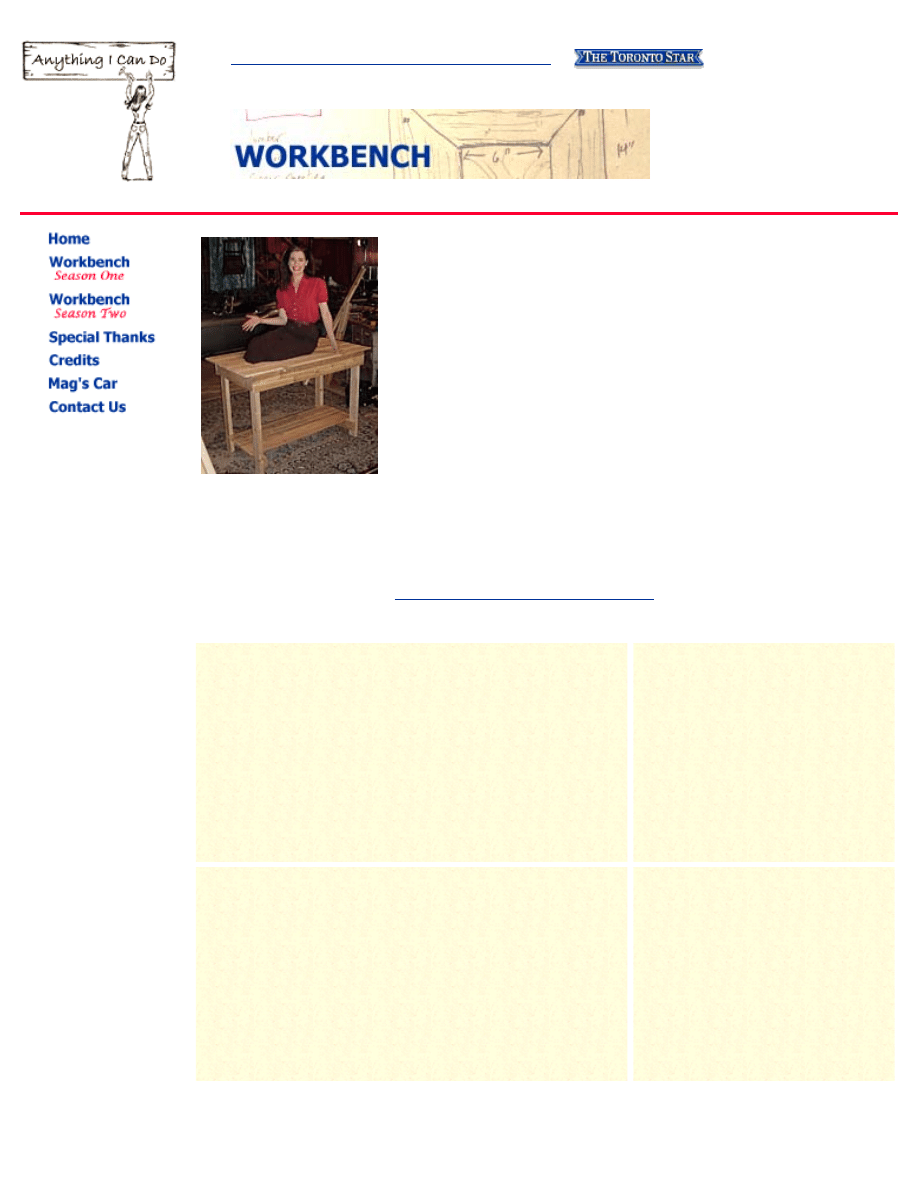
The world's easiest table doubles as a workbench,
a laundry counter, a project table and, in a pinch,
a spare bunk bed.
If you're like me, you need more surface area.
And I'm not talking about gaining a few pounds.
What you need is your very own utility table. It's
cheap to build (roughly $50), and it's a great
beginner's project. The table measures 52" x 25",
with 34" legs. I actually built three of these
babies, because they're so darn useful.
You can fancy up your table with paint, stenciling
or wood-burning, but it's noble just as it is, naked.
Artisans' work featured on this Episode
Materials:
●
Cedar (see cut list below)
Approximately 30 each of:
●
2 - 1/2" zinc woodscrews
●
Trim washers
●
1-1/2" zinc woodscrews
Tools
●
Saw
●
Clamps
●
Measuring tape
●
Square
●
Drill
Cut List:
●
Skirt: 1" x 6" cedar decking - two 46" boards, two 23"
boards
●
Blocking: 2" x 4" cedar - one 23" board
●
Tabletop: 1" x 6" cedar - five 52" boards
●
Legs: 2" x 4" cedar - four 34" boards
●
Optional shelf: 1" x 6" cedar - three 46" boards
●
Shelf supports: 2" x 4" cedar - two 23" boards
http://www.anythingicando.com/season2/proj_30/proj_30.htm (1 of 4) [6/15/03 10:00:24 AM]
Anything I Can Do - Project # 30
Steps:
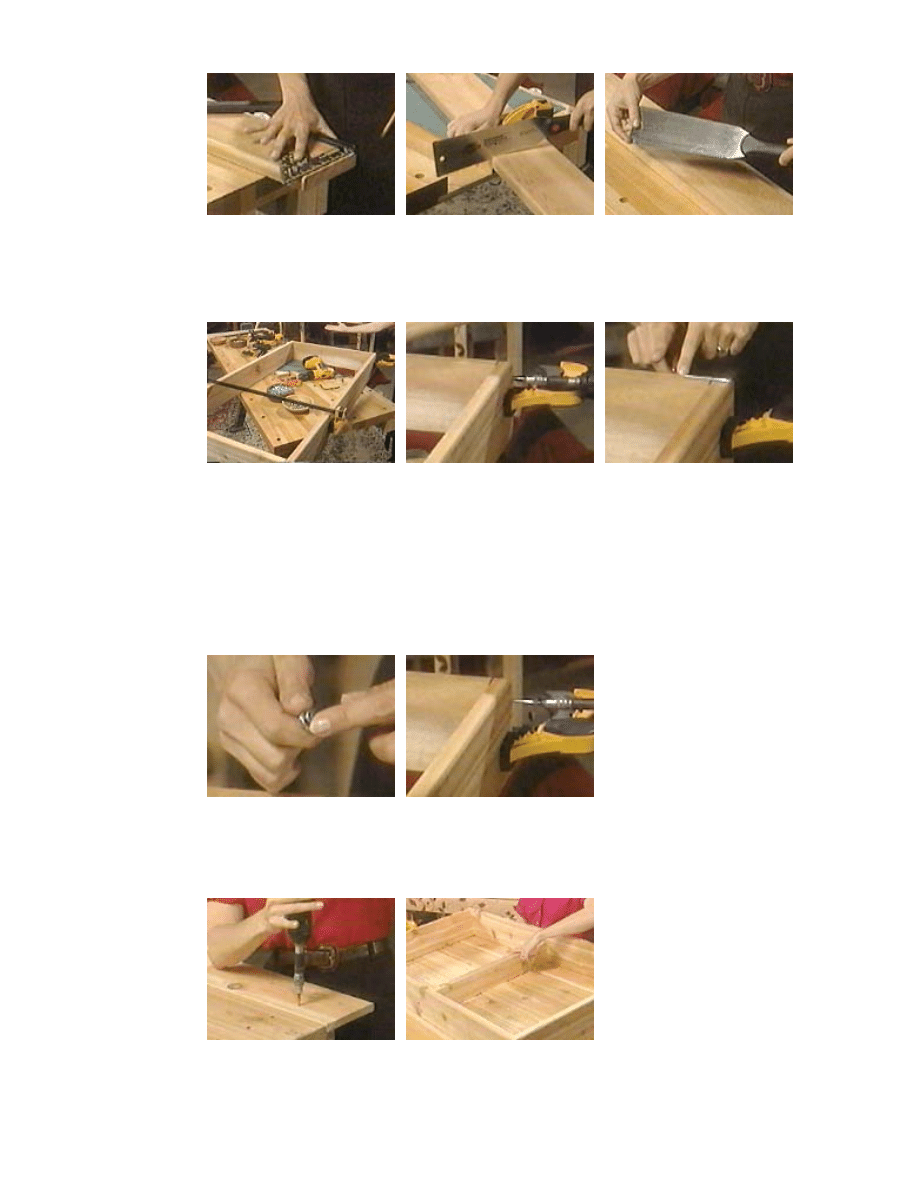
Check the end of the board for
squareness and splits
Cut off any bad ends and then
cut the boards to length
A Japanese pull saw is the
easiest to cut with
Start by building the 'skirt', the rectangle on which the table surface
will eventually sit.
Clamp the apron or skirt frame
together
Pre drill for screws at the
corners
Choose screws that are long
enough to have at least half
their length in each pieces
Clamp the boards in place (short boards on the inside!) At the corners,
pre-drill for the screws so that the boards don't split. Fasten the corners
together using zinc screws paired with trim washers, which bite into
the wood and add a huge amount of structural strength to the corners.
Use a trim washer to add
strength and stability, plus
they look attractive
Use at least two screws to
attach each corner together
Pre-drill with a counter sink bit
and attach the top boards
Use a center brace to help
support the table top
http://www.anythingicando.com/season2/proj_30/proj_30.htm (2 of 4) [6/15/03 10:00:24 AM]
Anything I Can Do - Project # 30
Attach the decking to the frame, pre-drilling for the screws so the
boards don't split. 'Countersink' the screws so their heads don't stick up
and catch on things. If you don't have a fancy countersink bit, simply
use a large drill bit to make a shallow dimple for the wedge-shaped
head of a woodscrew.
Install the 2" x 4" blocking (short side up, for strength) in the middle of
the rectangle. This board will support the surface decking so it doesn't
bounce later.
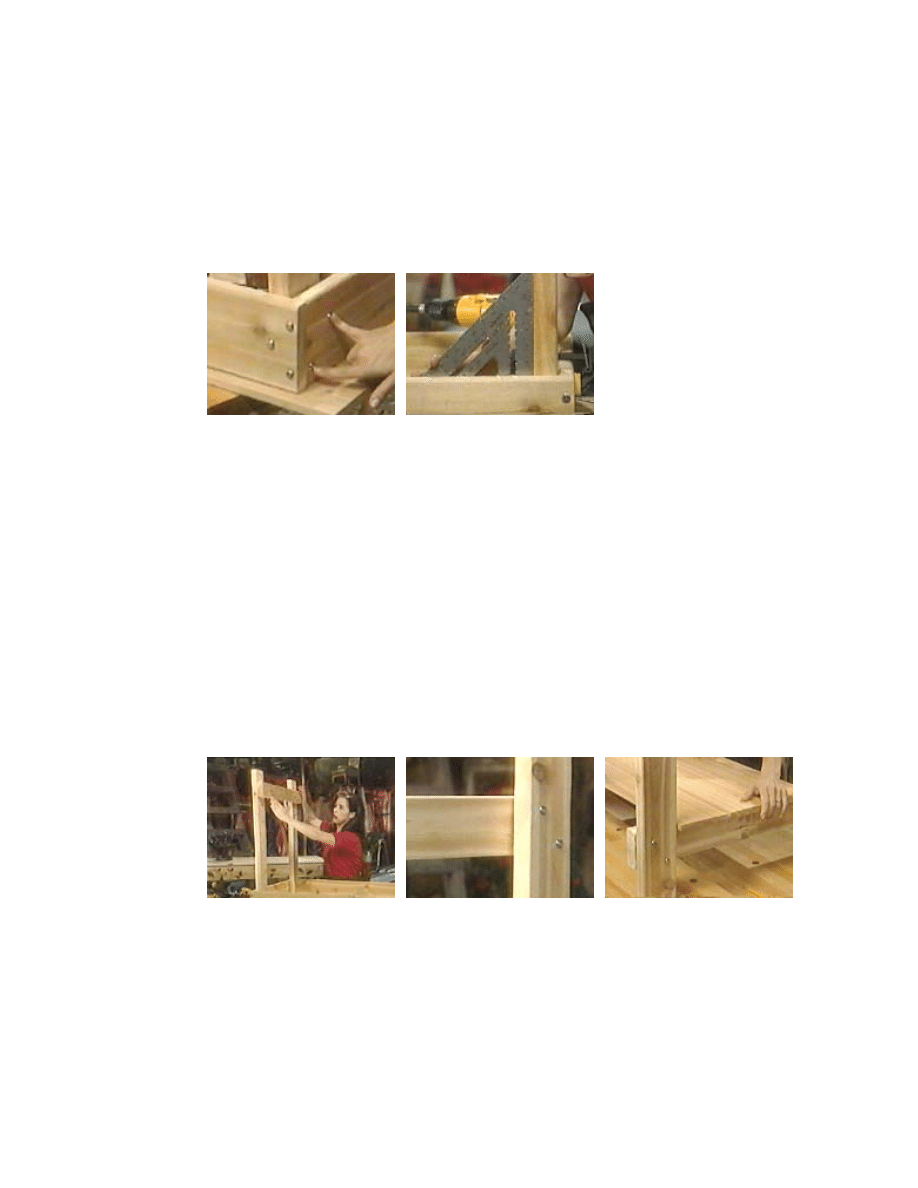
Put the 2x4 legs in place and
attach with staggered screws
Use both a square and a clamp
to hold the leg while installing
the screws
Attach the legs to the inside corners of the skirt, using zinc screws and
trim washers. Work with the project upside down, so the skirt is down
and the legs stick up in the air.
To make sure the legs are firmly attached, drive two screws into the
wide side of each leg, and one screw into the narrow edge. Stagger the
two screws on the wide side to prevent splitting the legs. Use clamps
and a square to keep the legs in place while driving the screws. Once
the legs are in place, eyeball them to make sure they're plumb. If
they're all leaning in different directions, you can adjust them by
releasing the tension on the screws and then re-tightening them
selectively until each leg is vertical.
Install a horizontal support on
the legs to hold a lower shelf
Attach the support with two
staggered screws at each leg
Cut and attach three boards to
the supports
Now your table is done, unless you want to go for the optional shelf,
which is a great addition particularly if your table legs are wonky or
the unit doesn't feel stable enough.
To make the shelf, attach two horizontal 2" x 4" shelf supports to the
legs about 3" up from the bottom, and then screw cedar boards to the
supports, spacing them evenly.
http://www.anythingicando.com/season2/proj_30/proj_30.htm (3 of 4) [6/15/03 10:00:24 AM]
Anything I Can Do - Project # 30
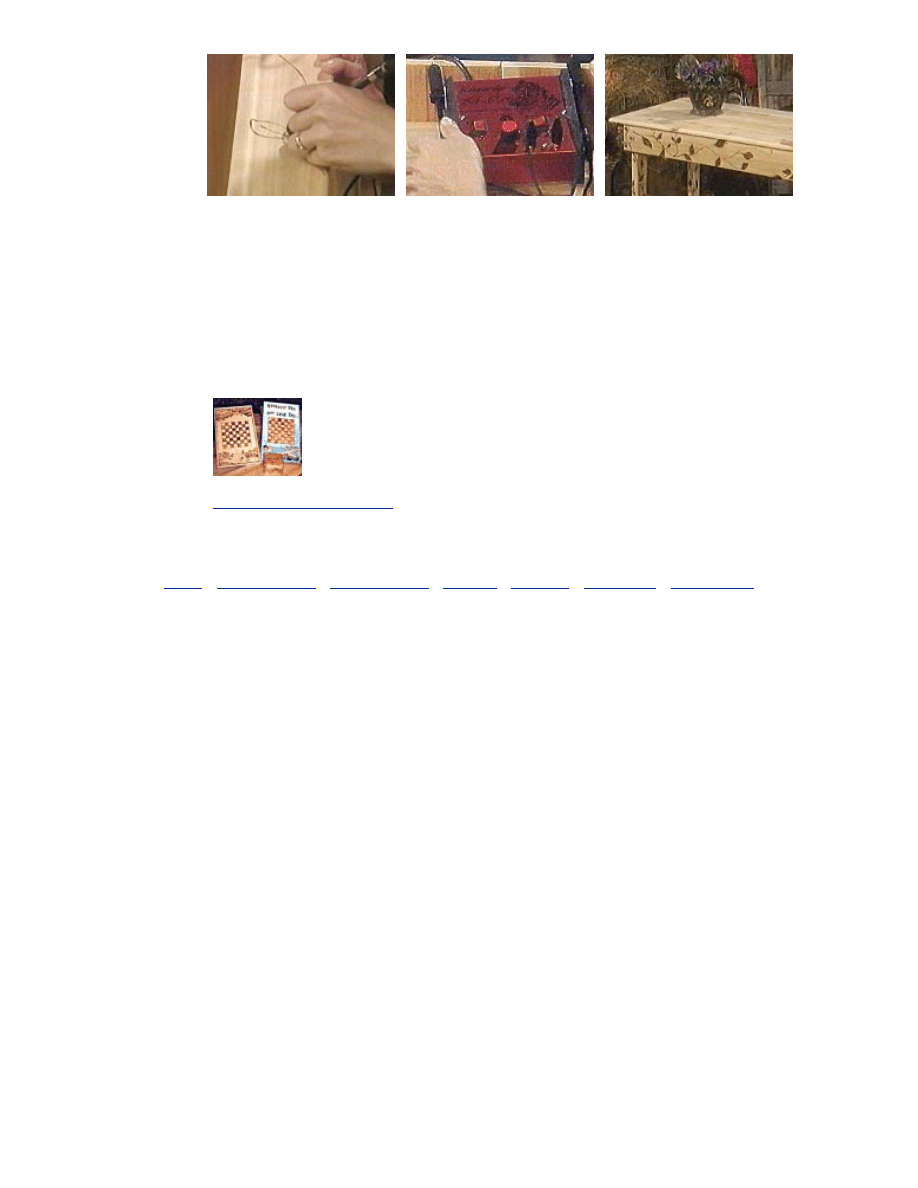
Decorate your table with
woodburning
If you can, get a high quality
wood burning unit - it's worth
it
Different wood burning tips add
variety
That's it. Your wonder table will go through thick and thin with you, a
sturdy companion, a tranquil offering of surface area in the midst of
life's turbulence.
Artisans' work featured on this episode:
(click pics for Artist info and larger images)
|
|
|
http://www.anythingicando.com/season2/proj_30/proj_30.htm (4 of 4) [6/15/03 10:00:24 AM]
Document Outline
- anythingicando.com
Wyszukiwarka
Podobne podstrony:
Woodworking Plans Timber Garden Shed Part I
(Ebooks) Diy Woodwork Plans Timber Garden Shed Part Ii
(madera) Woodworking plans Workbench Popular Mechanics Hard Maple
(EBooks) DIY Woodwork Plans 10 Workbench Accessories
Woodworking Plans Garden Bench(1)
2 Woodworking Plans Standing Router Table
Woodwork Plans Workbench
(Ebooks) DIY Woodwork Plans Drill Press Table
(Ebooks) Diy Woodwork Plans Longer Plank Top Workbench
Crafts Woodworking Plans garden windmill
2 Woodworking Plans TableChair Harvest Table
Woodwork Plans Outdoor Table And Bench
eBook DIY Woodworking Plans Guide To Wood Finishing
2 Woodworking plans settletable
2 Woodworking Plans Timber Bookcase
2 woodworking plans trestletable
Diy Workshop Woodwork Plans Drawings For Homemade Wood Lathe
więcej podobnych podstron