KNOW HOW
48
LINUX MAGAZINE
Issue 21 • 2002
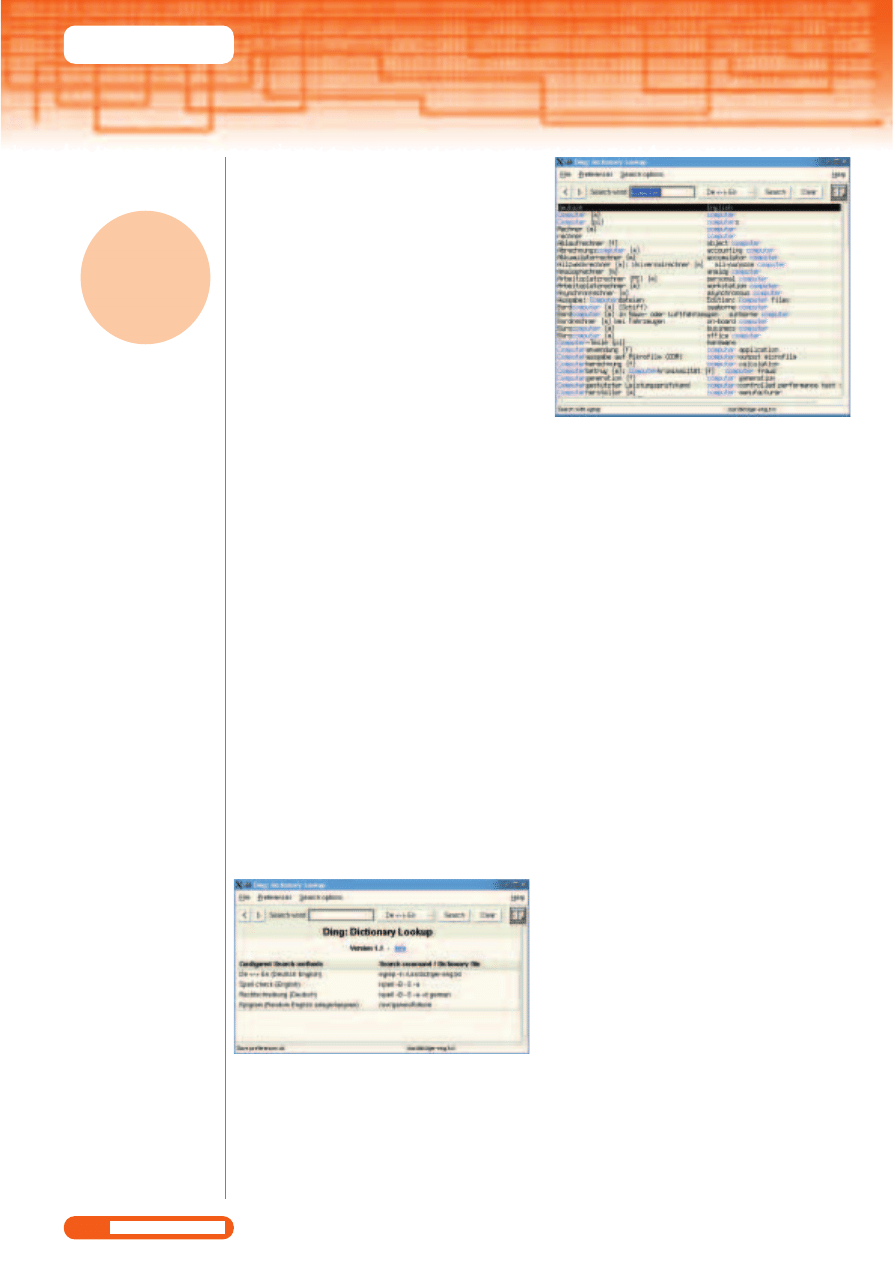
you wish to open from the selection menu. As a third
option, select File/New window – KView then starts
another instance with the blank desktop.
The displayed size can be altered via the View
option in the toolbar. Here you will find the steps Half
as big, Normal size, Twice as big and Full image
mode. The symbol buttons with the magnifying glass
allow you to zoom into or out of the image. The
default is 100 per cent of the original size – if you
want to work with a different zoom factor, select
View/Zoom factor and enter the new value in the text
line. Zooms with a high factor can take some time,
depending on system resources.
KView stores your recently opened
files to speed up access
Accessorise your KDE desktop
MORE TOOLS
FOR YOUR BELT
Windows collects
several useful
applications together
under the heading of
Accessories. Anja M
Wagner explains, in
brief workshops,
where you can find
and use these and
other odds and ends
in KDE
K
DE applications (here we are referring to KDE
2.2 under SuSE Linux 7.3) are frequently very
similar to those of Windows, which makes
migration somewhat easier. Some, on the other
hand, are very different.
Viewing images with KView
KView is an image viewer in a similar vein to Imaging
under Windows. You can start it either via the start
menu Multimedia/Graphics/Image viewer or with the
shortcut Alt+F2 and entering kview. In SuSE the
menu is Graphics/Graphics/Image Viewer. After
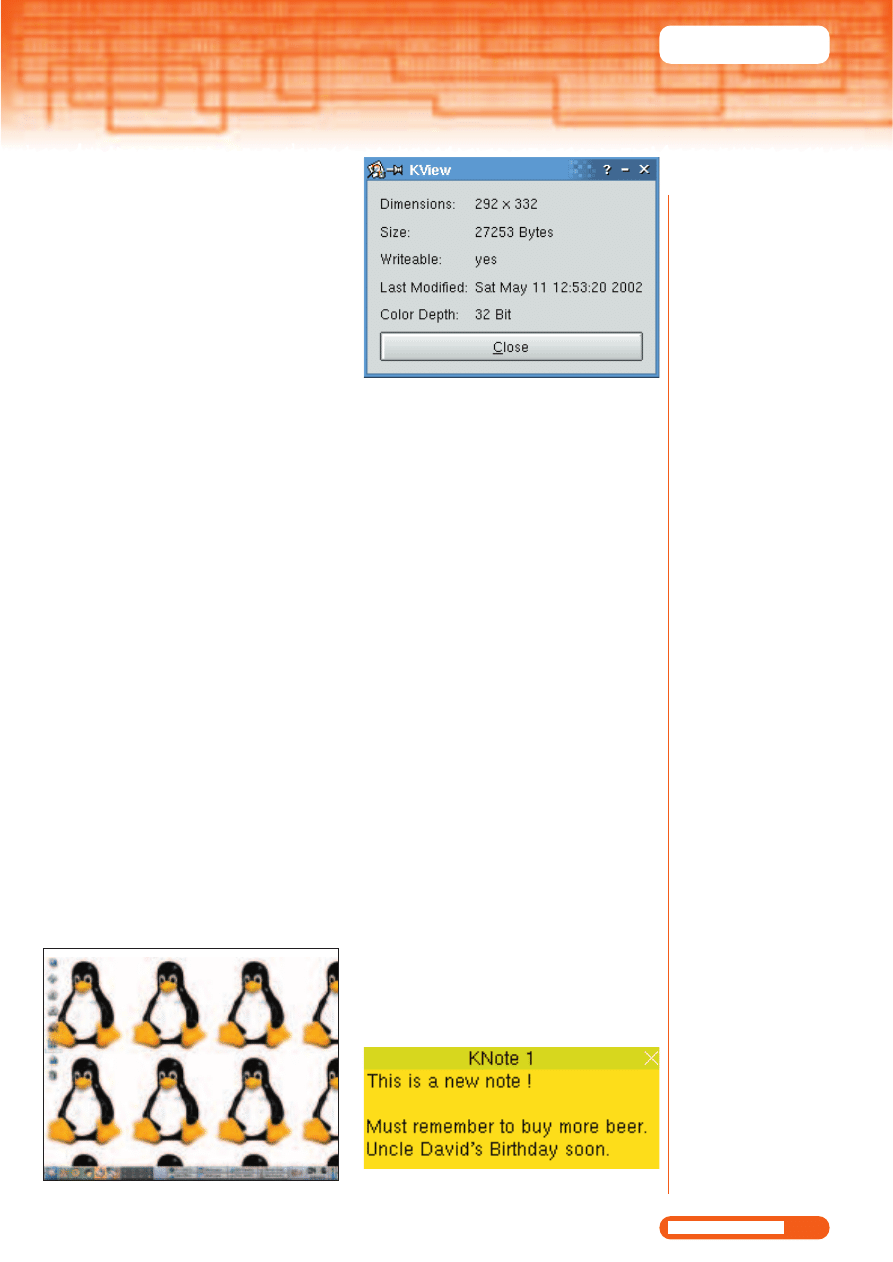
opening KView you will be met by a bleak desktop.
First load an image via File/Open. In the dialog
window, search for the image in your system
directory. If you want to load several images in a
folder at the same time, hold down the Ctrl key while
marking each with the mouse. The desktop of KView
opens, adapted to the size of the loaded image. By
“touching” it with the mouse the window can be
drawn bigger or smaller.
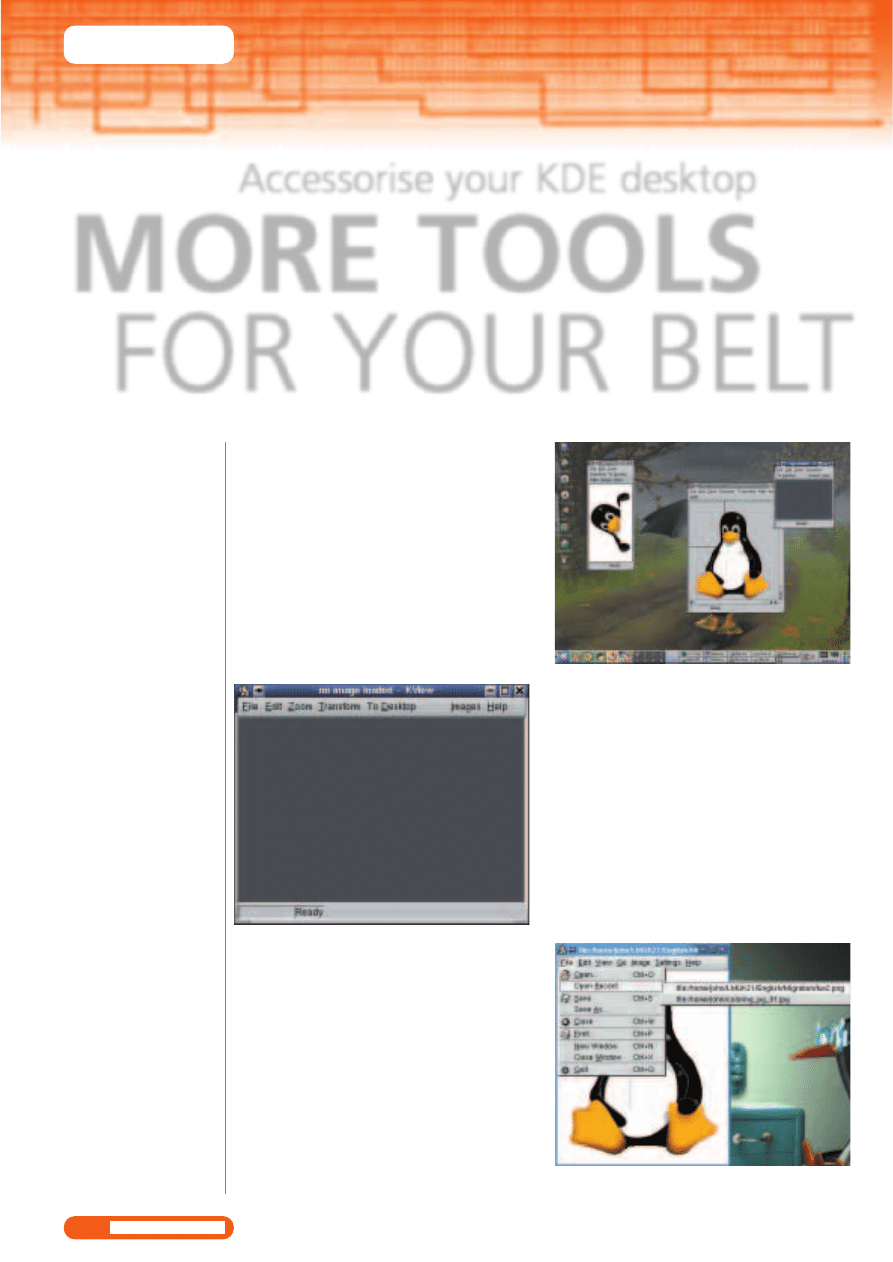
A number of image viewers can also be opened at
the same time. Load another image in a new window
via File/Open. If you have already loaded various
images, you can also select the option File/Open
Recent. You can then select the previously viewed file
Several image viewers on the desktop
The desktop of KView looks a bit bleak
KNOW HOW
49
LINUX MAGAZINE
Issue 21 • 2002
As already mentioned, KView can load several
images simultaneously. The tool saves the paths of
the loaded images in a list: this list is displayed via Go
to/Image list in the menu bar. The Sort button next to
the image list arranges the image files in the usual
alphanumeric order. The Random button cancels the
sorting again.
Once an image list has been created it can be
saved for future use: click on the Save list button and
store the list in your home directory. It is advisable to
create a separate folder for this and give the list a
telling name, so that you can find it again later. The
Load list button lets you load a previously stored
image list and, for example, display them in the form
of a slideshow. This only works, though, if the files
are still located in the previous location. If the image
list contains any pictures that are stored on a
diskette, the floppy must then also be in the
mounted drive. KView save only the path of the files,
but not the image files themselves.
A slideshow displays the images in a list in the
sequence stored therein. By default the image
changes every five seconds. Slideshows are started via
Go to/Slide show on/off or the S key. Pressing the S
key again ends the show.
With KView you can not only view images, but
also change them and then save them. In the menu
list select the Image option. There are a variety of
filters available. The menu item Intensity allows you
to edit the brightness of an image and to correct the
gamma value. The brightness is set by default at 100
per cent; enter the desired value in the text line.
If you’ve reduced the brightness to something like
10 per cent, you cannot restore the original condition
of the image by re-entering the brightness value of
100 per cent – you have to reload the original image.
The gamma value, which must be greater than one,
corrects the mid-tones or grey shades of an image.
The default value is one. Filter/Grey shades converts a
colour image into a black and white image. The filter
option Smoothed reduces the contrast between
adjacent pixels and makes the image look smoother.
An image can be rotated by 90, 180 and 270
degrees and reflected vertically or horizontally. The
rotations are performed clockwise.
Each image loaded in KView can be used as
background for the desktop, if you click on Image/On
the desktop and select Tiles, Maximum size or
Maximum view. The background image then appears
on all installed desktops. You can alter or delete it via
the KDE control centre. From the start menu select
Control centre/Appearance/Background. On the
Background image tab, select either no background
image or pick another.
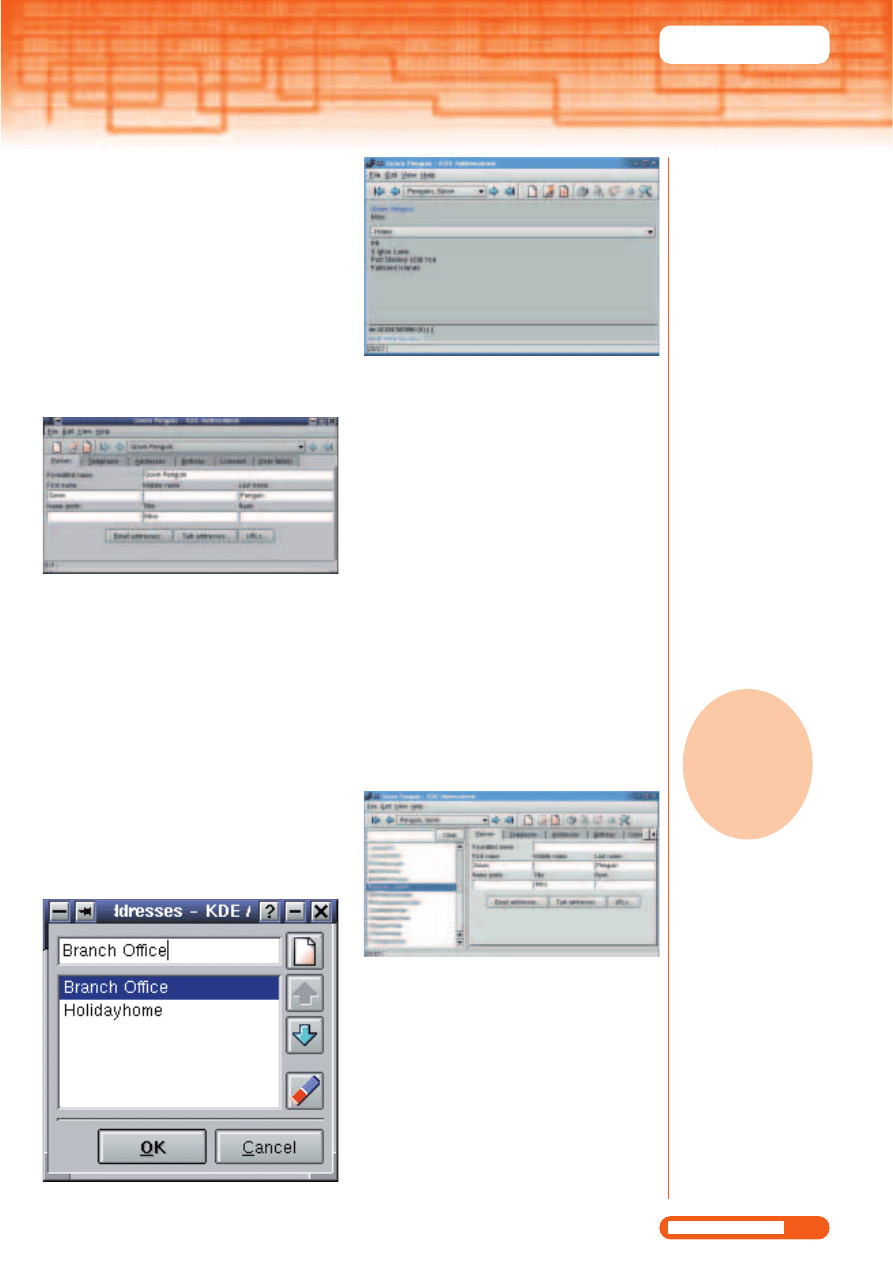
The menu item Image/Info is practical: there you
receive information about the loaded image such as
the size in pixels and bytes, colour depth and the
date the image was last changed.
As is usual with KDE applications, the appearance
and desktop can be adapted to your own individual
preferences. In the Settings menu, you can also
display the toolbar and status bar. The option Install
KView allows you to change the background colour
of the tool and to replace the bleak black with a
jollier colour. The interval for the slide change can be
altered, too.
Memos on the desktop
Sticking yellow Post-It notes all over your monitor is
one way to remind you of your must-do tasks or
computer commands. A much more elegant
alternative – and one guaranteed not to blow away
in a freak gust of wind – is a Post-It note directly on
the desktop. KDE makes this possible with KNote.
Start the program via the start menu item Office
programs/Organisation/Memos or via Alt+F2 and
entering knotes. A bright yellow memo appears on
the desktop – click in it and type your memo.
You can hide the memo via the X at top right; with
Tux – a credit to any desktop
The vital
statistics on
each image
It’s better to stick a memo on the desktop
than on your monitor
KNOW HOW
50
LINUX MAGAZINE
Issue 21 • 2002
a click on the KNote symbol in the panel the memo
reappears on the desktop – and right on the spot to
which you last dragged the virtual memo. By clicking
in the header bar you can activate a triangular area in
the lower right-hand corner of the memo. Guide the
mouse cursor over this field and it turns into a little
double arrow – here you can use the mouse to
change the size of the memo by dragging it.
You can make further settings and changes to
KNote by right-clicking in the header bar and thus
opening the pop-up menu. The first option in the
pop-up menu, Insert date, writes the time and date
in the memo. Click on Send to send the memo via
KMail; all you need do is enter receiver and subject. If
a memo is not to be sent via KMail, change the entry
in the Actions box. Enter something like sylpheed or
another client.
The tool simply names each new memo “KNote”
with a serial number. Select Rename from the pop-up
menu, to enter a more informative name.
Whilst an on-screen memo might be a great
reminder, it’s far less likely to jog your memory if it’s
covered up by large window. To prevent cover-ups,
click Always in the foreground on the pop-up menu.
Regardless of which window is now opened on the
desktop, the yellow memo always “sticks” in front of
it. You can cancel this by again selecting the Always
in the foreground option.
If you use several desktops, you can define on
which desktops the memo is to appear via On
desktop. The Memo settings offer you the option of
changing the background and text colours, font type
and size.
English dictionary
A practical German-English dictionary is at your
disposal with ding. This is not an online dictionary – it
is resident on your system, and as such may need to
be installed with YaST2. Once installed, start it via
Alt+F2 and enter ding.
The dictionary, with some 130,000 entries,
searches automatically in both directions, thus in both
the German and English entries. Type the word you
want in the Search word field and click on the Search
button. Apart from the word itself, compound
phrases are displayed in which it occurs: the search
for “computer” for example displays 134 results.
The list displayed can be saved: right-click in the
list and keep the button held down. Select the Save
option and store the list, for example, in the home
directory, to edit or print it out later. It will be saved
as a text file (.txt).
The search parameters of ding can be altered via
the Search parameter item in the menu list. Instead
of looking for whole words, ding can start a partial
search. This makes sense if the complete spelling of a
term is unknown or all words with specified
components are to be sought. After entering “hyper”
ding finds precisely one result, when it is looking for
entire words. But the partial search comes back with
31 entries.
The tool can be made case-sensitive or not case-
sensitive. Regular expressions can also be used, such as
e.g. “nu(ss|ß)”, to search for “nuss” and “nuß”. The
search parameter settings Simple search and Reg.
expressions appear to have no effect: regular expressions
are always evaluated. With the Settings button in the
menu list you can change both desktop and the
appearance of the tools in the usual KDE manner.
Especially helpful are two functions of ding, which
are activated via Settings/search methods or faster via
the selection button on the right next to the Search
word field. With the Spelling option “ding” checks
the word you have typed in and comes up with
suggestions. Spell check activates the check for
English words.
Even with some 130,000 entries in the dictionary,
sooner or later you will come across omissions but
ding has the ability to learn. As root administrator,
use a text editor to open the file /usr/X11R6/lib/
ding/ger-eng.txt and enter missing words,
explanations and transcriptions manually.
Address management with kab
First the good news: all addresses which you enter in
the KDE address book kab can also be found in the
address book of KMail and vice versa. The bad news
The desktop of ding, a German-English dictionary
The search for the term “computer”
produces over 100 entries
on-screen
memo might
be a great
reminder
KNOW HOW
51
LINUX MAGAZINE
Issue 21 • 2002
is that you cannot import any addresses from
Outlook or Outlook Express.
Start the program via the start menu item Office
programs/Database/Address book or enter kab in the
fast starter. When you first start, the directory for the
local settings is made in /home/username/.kde2/
share/apps/kab.config and the standard address book is
saved in your home directory under .kde2/share/
apps/kab/addressbook.kab. The dot before the directory
kde2 indicates that this is a hidden system directory.
You can make a new or first entry in the address
book via Edit/Add entry. The input mask is split into
six tabs, which offer a wealth of options for
addresses, telephone, email and also comments.
On the Addresses tab you’ll find the field entitled
Address type. In the drop-down menu there are at
first no address types to choose from. If you want to
define one or more types, which makes sense, select
Edit/Install this file from the menu. On the Address
types tab, click on the symbol button for a new entry
and enter the designation of the type, for example
Private, Work, Branch, Holiday home etc. in the now-
activated text line.
When creating a new entry, click on the Add
button, select an installed type and enter the details
of the address. Now change the display, via
View/Business card, and your details appear
according to the address type selected.
You thus have rapid and clear access to the various
addresses in an entry.
At the bottom left of the Business card appears
the email address and homepage of your contact,
if you have entered these on the Person tab. With
a click on the email address, a KMail window
opens, in which, handily, the address of the
receiver is already inserted.
On the tab right at the back, entitled (User
fields), there are four text boxes available to you
for additional entries. These fields are initially titled
only User field 1-4. Click again on Edit/install file
and give a more suitable name to the tab and the
user fields.
Apart from the view for creating or editing a
contact, kab offers another list with all entries.
Click on View/Display list of entries for navigation.
The names of your contacts will appear in
alphabetical order in the left-hand window. Click
on a name and then again select, via the menu
item View, whether the visiting card or the input
mask of the contact should appear on the right.
You can leave the list view by clicking again on
View/Display list of entries for navigation. If the list of
contacts is already very long, the fastest way to find
an entry is via the search function. Select Edit/Seearch
entries. The selection list for the search parameter is
long: You can search according to practically any field
– from name via birthday to comments.
The search function can distinguish between upper
and lower case text and above all, the wildcard “*”
can search for any number of symbols you like and
“?” for just one character.
The input options of the kab address
book split into six tabs
Adding addresses by types gives a better overview
The list view sorts contacts according to
the “formatted name”
With the Business card view you can see
all details at a glance
your
contacts will
appear in
alphabetical
order
Wyszukiwarka
Podobne podstrony:
2002 07 Mp3 Tools to Help You Get Your House Music in Order
2008 01 We Help You To Choose the Best Anti spyware [Consumer test]
Herbs to Help You Breathe Freely
2008 01 We Help You To Choose the Best Anti spyware [Consumer test]
Gluten free, Sugar free Cooking Over 200 Delicious Recipes to Help You Live a Healthier, Allergy Fre
Life Skills Personal Development Useful Articles to Help You in Your Career
20 20 Cookbooks Presents 85 Fat Burning Diet Meal Recipes to Help You Lose Weight Faster and Stay Fu
Adventure Trust Us, We re Here to Help You!
ashes Linking words help you to connect ideas and sentences, so that people can follow your ideas (
2002 06 15 prawdopodobie stwo i statystykaid 21643
2002 06 21
Access to History 001 Gas Attack! The Canadians at Ypres, 1915
2002 06 18
2002 06 41
egzamin 2002 06 13
ei 07 2002 s 06 11
2002 06 16
2002 06 06
więcej podobnych podstron