How to Replace the DVD Laser of an RNS-E
All pictures sourced online – Not my own
If your RNS-e begins to struggle reading discs, it’s very likely the
laser needs replacing.
For a replacement laser, send me an email at
axlj44@dsl.pipex.com
What You’ll Need
Range of Phillips screwdrivers
Jewellery Screwdriver PH 000 (Basically just a very small Phillips screwdriver)
Soldering Iron
Solder
DVD Drive Removal
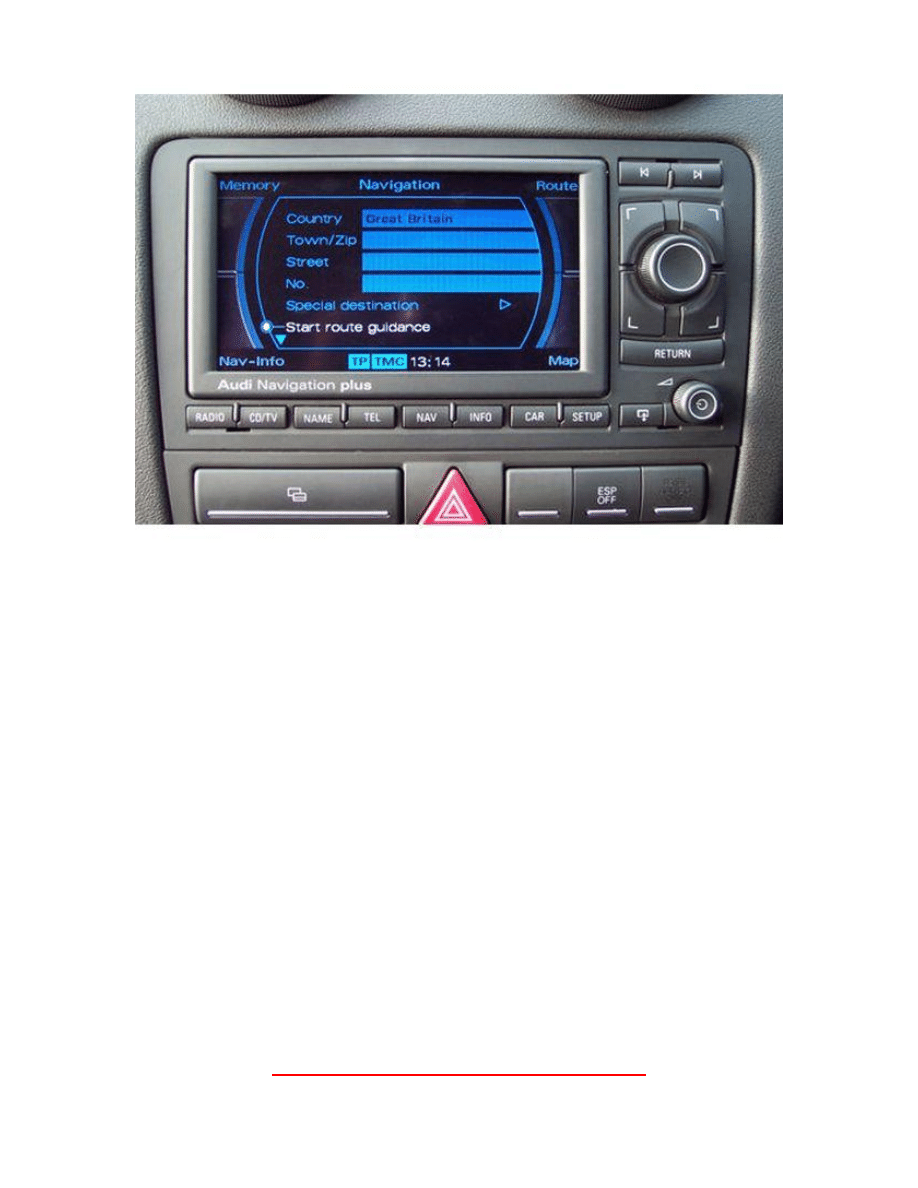
The first this we need to do it get access to the DVD Drive, this is very easy.
Make sure the RNS-e does not have a disc inside!
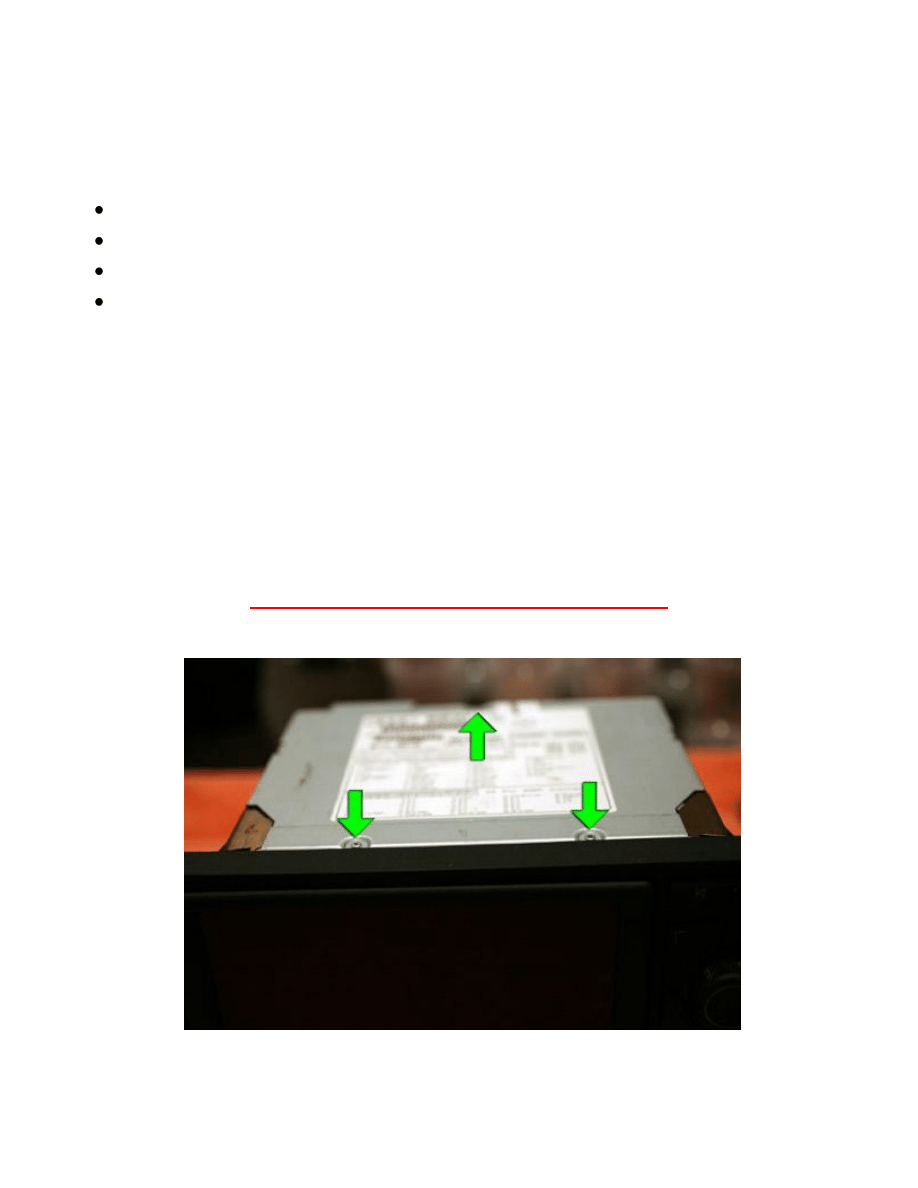
1. With the RNS-e removed from the car, remove the 3 screws on the top of the RNS-e.
2. The 2 screws on the side of the RNS-e (1 each side)
Now that you have the top cover removed, you should now be able to see the DVD
drive and laser.
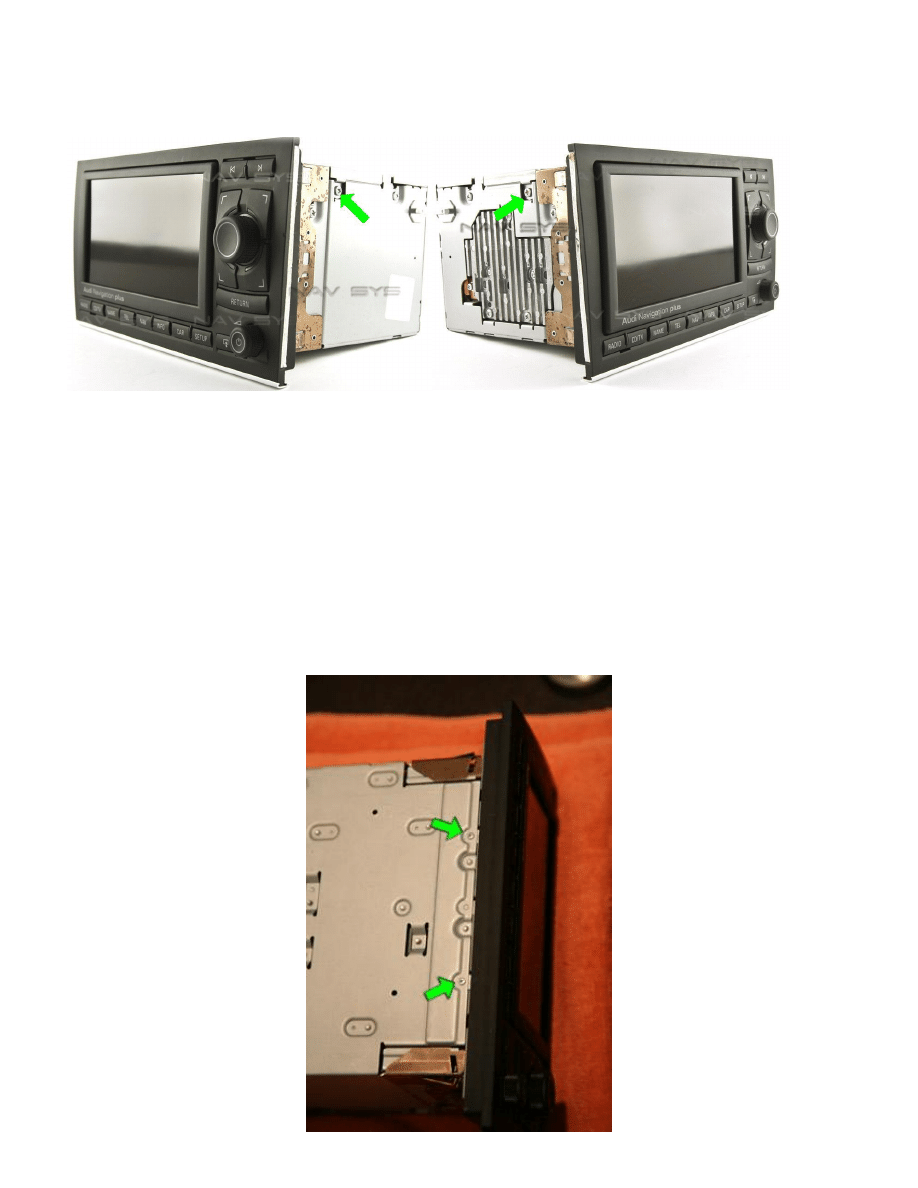
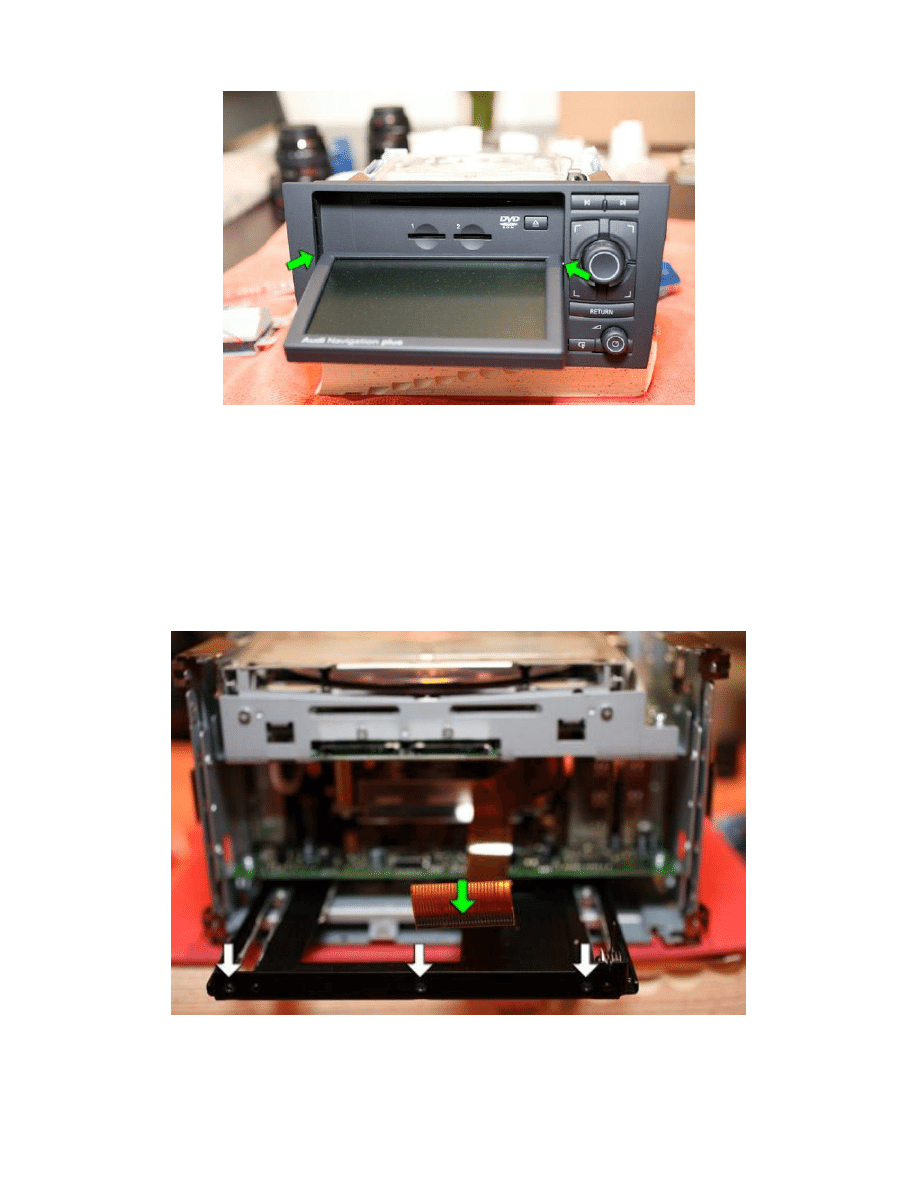
The next step is to remove the front of the RNS-e, allowing access to the front
mounting screws of the DVD drive.
3. Remove the 2 screws on the bottom of the RNS-e
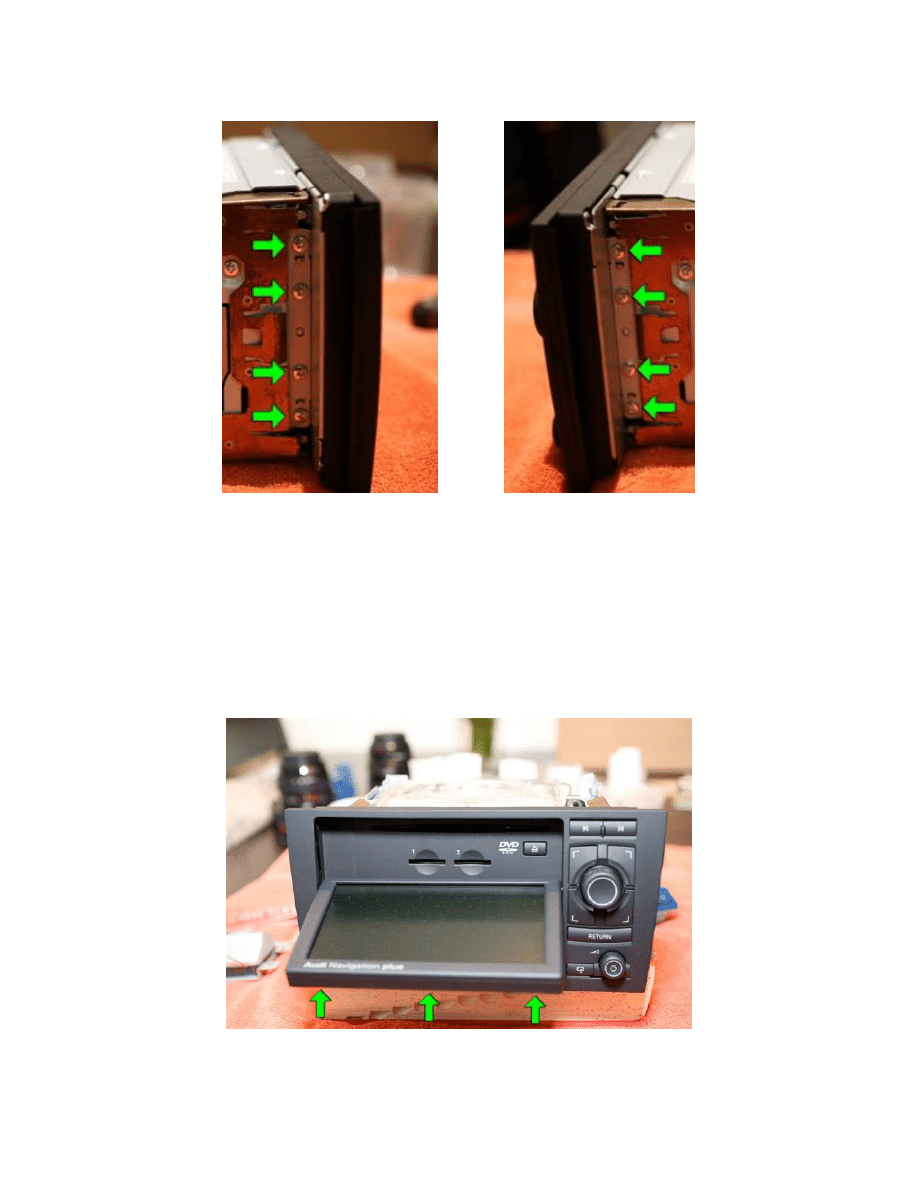
4. Remove the 8 screws that hold the Front interface onto the main Casing of the
RNS-e (4 either side)
Once all 8 screws have been removed, gently pull forward the front interface of the
RNS-e, this in turn will pull the RNS-escreen forward. Once at full extension, the 3
screws holding the screen onto the screen mount will be visible, as pictured below.
5. Removed the 3 screws holding the screen in place.
Be careful not to damage the sliding mechanism on the screen
Once the 3 screws have been removed, you will notice that there is a ribbon connected to
the screen, remove this ribbon.
The Front interface of the RNS-e will now come free, leaving you with this:
6. Now remove to connection on the RNS-e motherboard pictured below:
The next step is to remove the DVD drive itself, this is a simple step and only involves 4
screws, and one ribbon.
7. Remove the 4 screws which hold the drive in
As you lift the DVD drive, it is connected via a white ribbon on the underside, remove this
as you lift the DVD drive.
Laser Removal
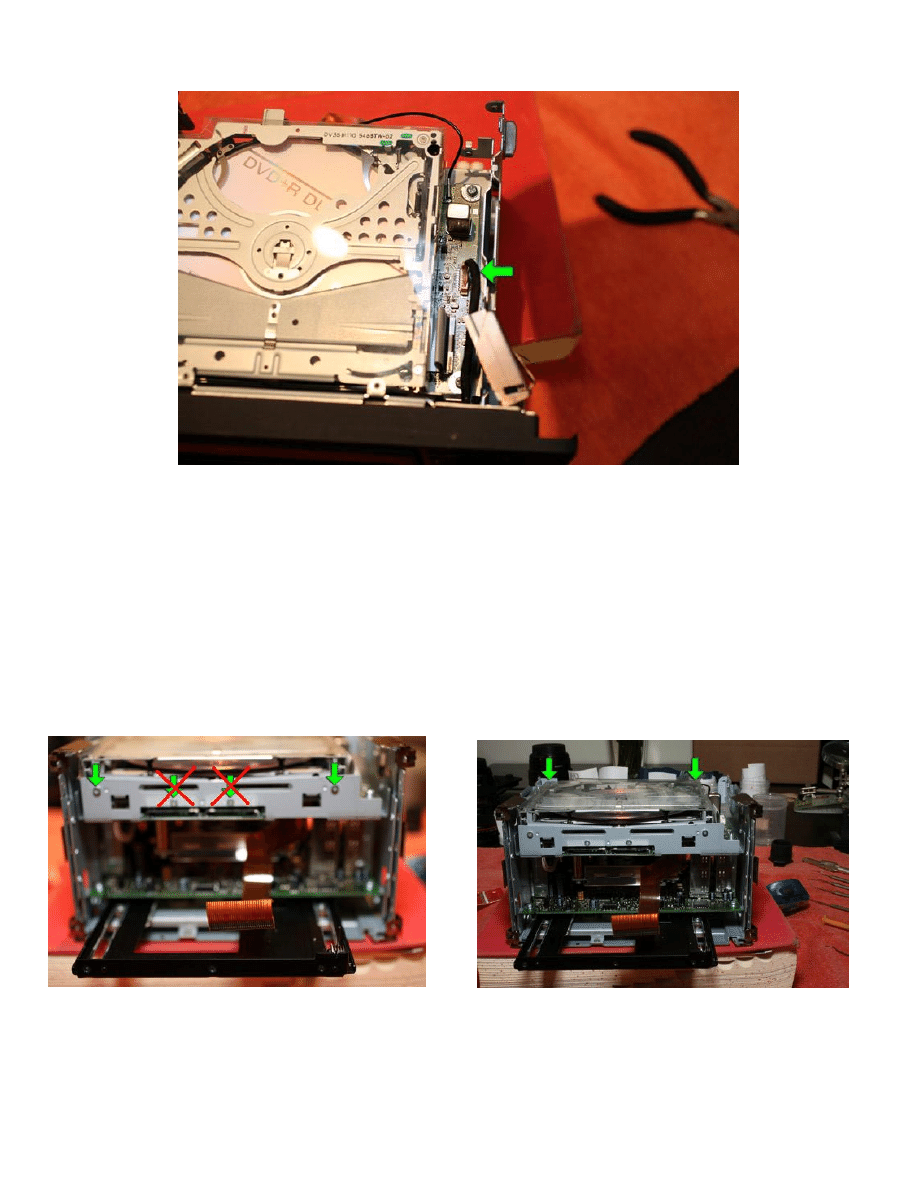
Now the DVD drive is free, we need to remove the laser.
8. Firstly, un-solder the laser via the 2 contact points, once the ribbon has been un
soldered, the ribbon can be disconnected from the DVD drive board.
DO NOT REMOVE OR TURN ANY SCREWS ON THE SPINDLE, PICTURED IN RED

9. Next, remove the 2 screws connecting the laser unit to the control rail.
10. Remove the alignment rail from the DVD drive, allowing the laser to come free.
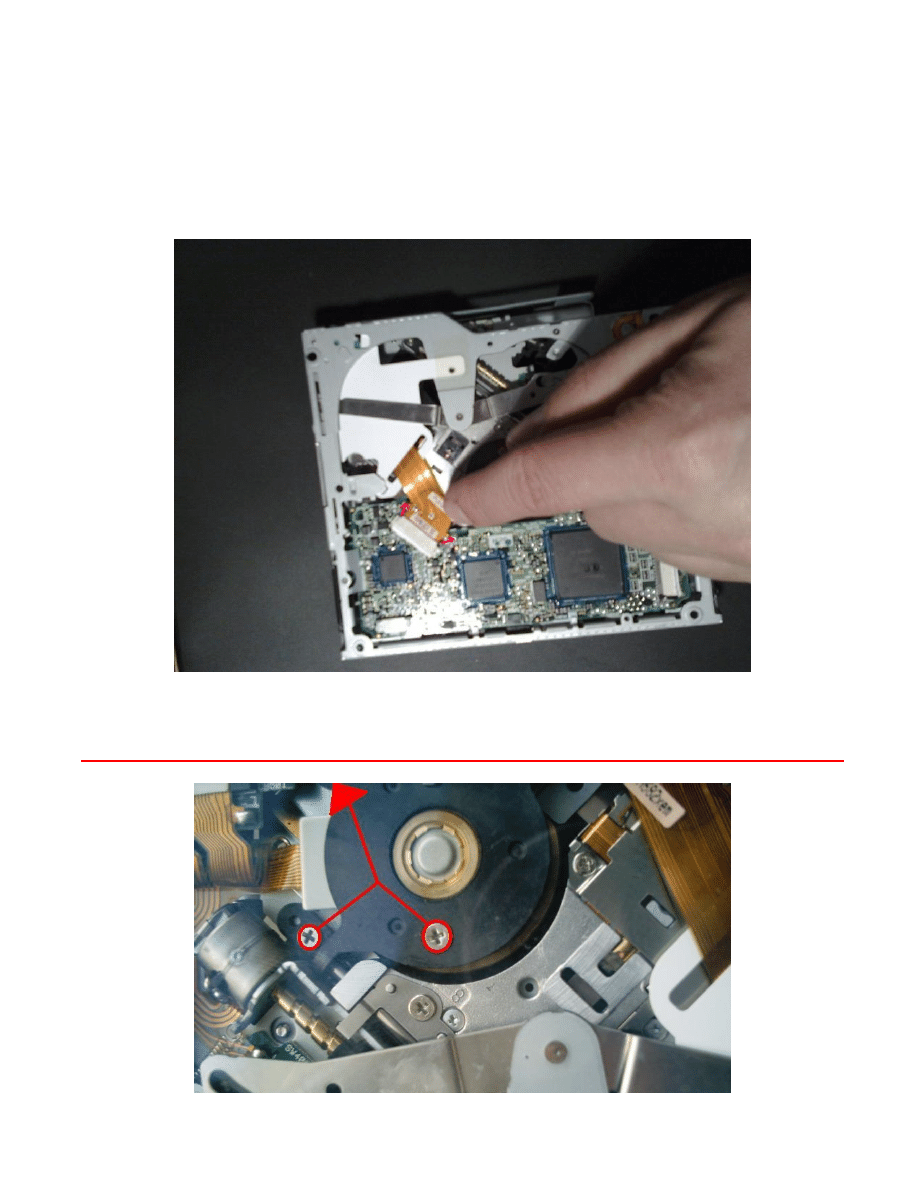
Replace the old laser with the new one
11. Once the new laser is installed, remove the 2 solder contacts on the ribbon. These
are here to ensure the laser is not damaged by static during transit.
Reverse the above steps to re-assemble the RNS-e
Wyszukiwarka
Podobne podstrony:
How to Get the Most Out of Conversation Escalation
Brown Derren How to Get the Truth out of Anyone
11 How to prepare the launch date of a new project successfully
Honda Civic How to Replace the Rear Speakers
How to Get the Most Out of Your Coaching
J Michael Bishop How to Win the Nobel Prize, An Unexpected Life in Science (2003)
Maureen Willmann How to Keep the Love of Your Life (After Mistaking Him for a Serial Killer)
JD Fuentes The sexual key How to use the structure of female emotion
How to Have the Character of a Champion
How to assess the effectiveness of your anti virus
the aesthetics of the game or how to appreciate the interactive fun Content File PDF
Geshe Sonam Rinchen How karma works the twelve links of dependent arising an oral teaching
How to make the Most of Ramadan
How To Use The Law Of Attraction
How To Win The Heart Of A Poet
Who s Pulling Your Strings (How To Break The Cycle Of Manipulation And Regain Control Of Your Lif
How to read the equine ECG id 2 Nieznany
więcej podobnych podstron