Bungalow Mailbox
This project was by request. As I
live in the ’burbs and have to
walk to the curb to pick up my
bills, a mailbox mounted next to
my front door would be purely
decorative. But a friend lucky
enough to have postal delivery
right to his door asked if I could
come up with an appropriate
design for his Arts & Crafts-style
bungalow home.
After a little research I settled on
a design reminiscent of the work
of Charles Rennie Mackintosh.
Arguably Scotland’s greatest
20th century architect and
designer, Mackintosh inspired
much of the European Arts &
Crafts movement during the
early 1900s. A stylized flower
motif is found on many of his
pieces.
BOTTOM JOINERY • The bottom fits
into the front and back pieces using a
tongue and groove method. The sides are
not attached to the bottom, and in fact the
bottom is cut to allow a 1/16" gap on either
side. Should water happen to get into the
mailbox, these gaps will allow it to escape
rather than pool up in the bottom.
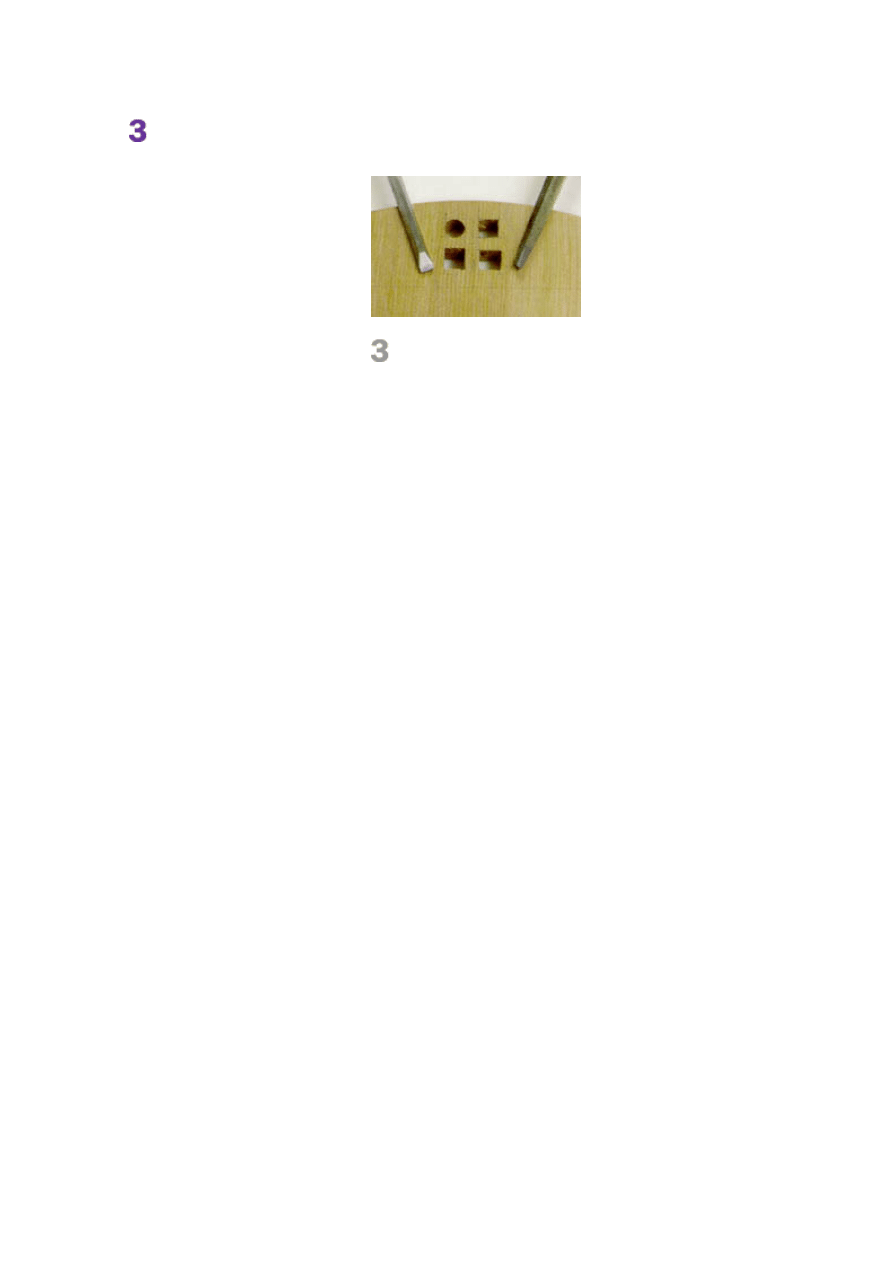
TOP CHAMFER • The top is chamfer
cut on three edges, and angle cut on the
back edge. By moving my rip fence to the
Mostly Glue • The joinery for
the box is primarily glue and
butt joints, utilizing the long
grain-to-long grain orientation of
the sides, back and front. The
bottom, however sits in a
tongue-and-groove joint between
the front and back pieces to
allow the wood to move.
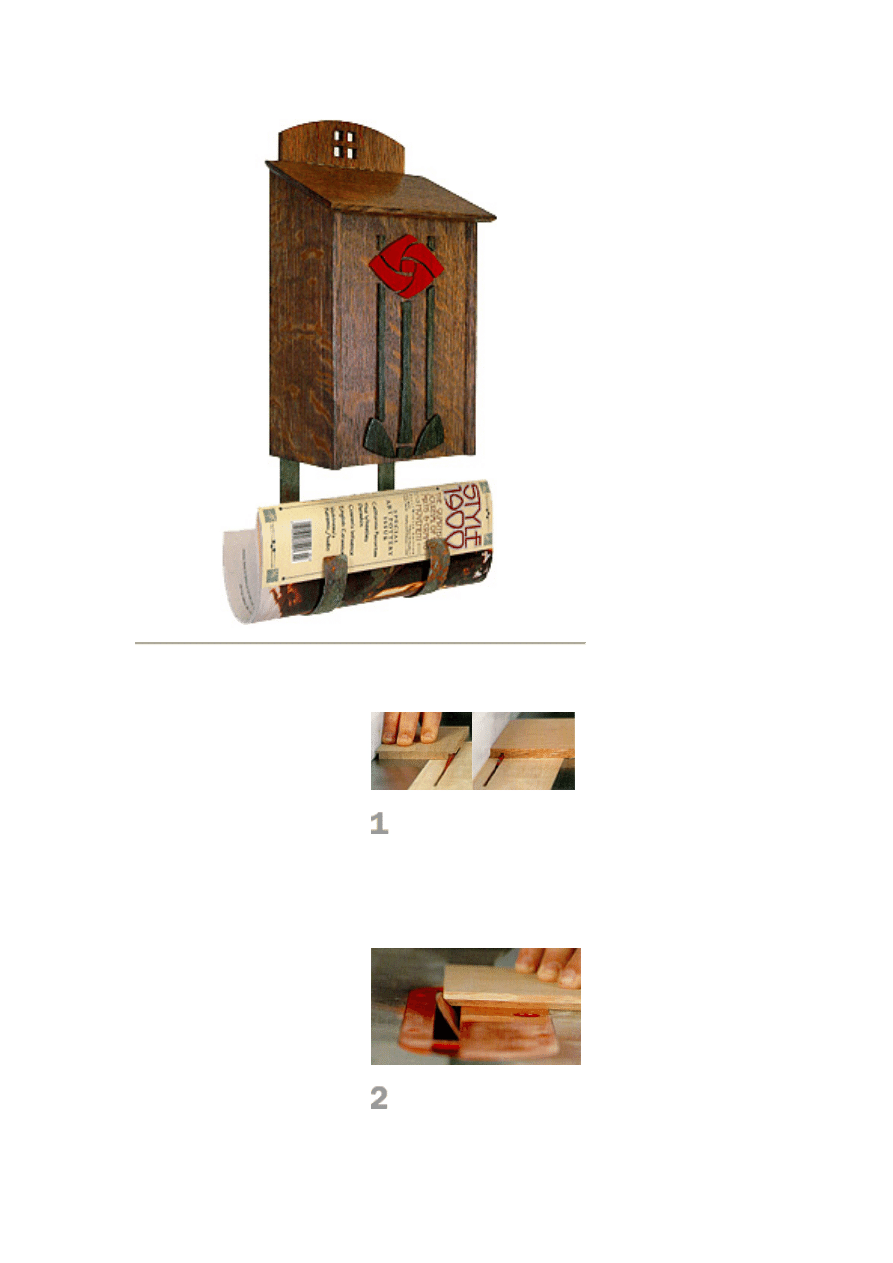
After cutting the pieces
according to the Schedule of
Materials, cut a 1/4" x 1/8"
rabbet on the underside of the
two long edges of the bottom.
This will leave a 1/8" x 1/8"
tongue on the front and back of
the bottom (photo one, left).
Then cut the dadoes on the
inside bottom of the front and
back pieces by setting the rip
fence for 1/2" and the blade
height to 3/16" (photo one, right).
Adding the Angles • Now cut
the sides of the mailbox on an
angle so you can attach the
mailbox to your house without
cramming a tool inside the box.
The sides slope at a 25-degree
angle with the front edge
measuring 9" tall and the back
edge 11" tall.
Now cut the chamfer on the
underside of the lid. The front
and two sides are chamfered at
a 45-degree angle on the table
saw, leaving a 3/16" flat edge to
the top of the lid. The back edge
of the lid is cut at a 25-degree
angle to mate with the box's
back.
Detailing the Back • To add
another Mackintosh feature, I cut
a four-square pattern centered in
the top of the curved back.
First mark the location of the
four-square pattern as shown on
the diagram. Use a 3/8" drill bit
to remove most of the waste
from the squares. Then use a
chisel and a triangular file to
clean up the cuts. To make the
curve, draw a 6" radius along the
top edge of the back and cut to
the mark on the band saw.
After sanding, you're ready to
glue up the box. The front is set
back 1/4" on the sides, while the
left of the blade, my right-tilt saw is able to
make the cuts safely, allowing the waste to
fall away from the blade.
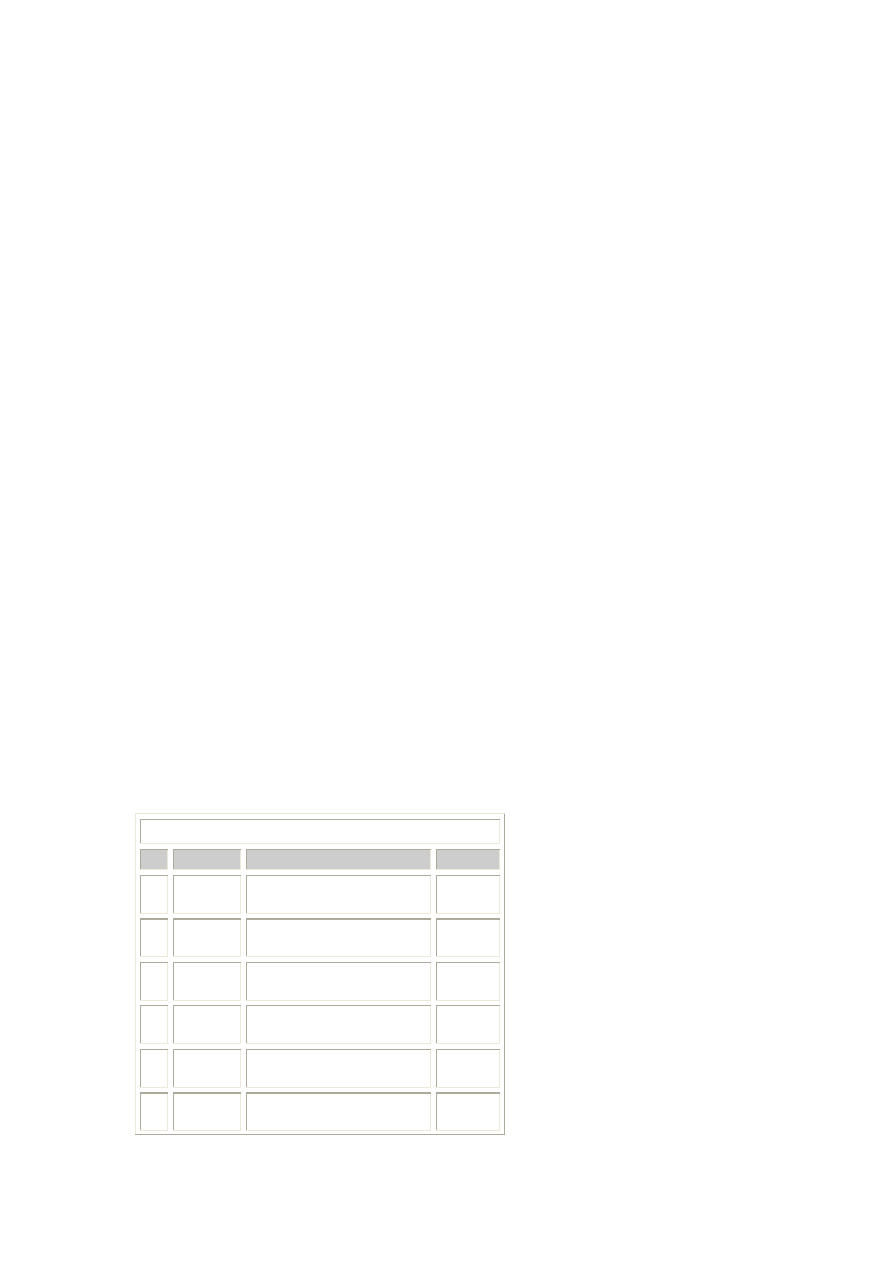
FOUR-SQUARE • After drilling the
holes, use a 1/8" chisel and a triangular
file to clean up the hole. The top left hole
is shown after drilling, while the two lower
holes have been completed.
back is flush to the back edge.
The bottom is left loose in the
assembly.
Now cut out the applied detail
from 1/8" stock on the scroll saw.
Finishing Touches
Before gluing the flower to the
box, stain the box a rustic-
looking gray-brown by applying a
black aniline dye wash. The
wash was made by diluting the
dye eight-to-one with denatured
alcohol. I then colored the flower
and stem pieces with undiluted
aniline dye. Attach the flower
pieces using cyanoacrylate glue.
To finish, use a coat of spar
urethane for outdoor protection.
The final tasks are installing a
small jewelry box continuous
hinge for the lid and the copper
magazine hooks. I made the
hooks from a couple pieces of
3/4" copper tubing. Flatten the
piece with a dead blow hammer,
then use a ball-peen hammer to
add a dimpled, hand-hammered
appearance. I then "antiqued"
the copper using a product
called Patina Green from a
company called Modern Options
(415-252-5580). The product
quickly adds a nice green patina.
Now screw the two hooks to
the back, and the mailbox is
ready to hang.
Schedule of Materials: Bungalow Mailbox
No. Item
Dimensions
Material
2
Sides
3/8" x 4 1/2" x 11
White
Oak
1
Front
3/8" x 6" x 9"
White
Oak
1
Back
3/8" x 6" x 13"
White
Oak
1
Bottom
3/8" x 3 11/16" x 5 7/8"
White
Oak
1
Top
3/8" x 5" x 7 3/4"
White
Oak
1
Applied
detail
1/8" x 6" x 9"
White
Oak

2 12" lengths of 3/4" copper pipe
Wyszukiwarka
Podobne podstrony:
mailbox bungalow
Mailbox Bungalow 2
Bungalow Mailbox
Mail Smart Mailbox(Inteligentne skrzynki pocztowe)
3 bedroom bungalow 3
Outlook to Unix Mailbox
3 bedroom bungalow
mailbox post
2 bedroon bungalow semi
Mailbox Stand
A bungalow
Mail Smart Mailbox(Inteligentne skrzynki pocztowe)
3 bedroom bungalow 3
Outlook to Unix Mailbox
3 bedroom bungalow
4 bedroom bungalow
więcej podobnych podstron