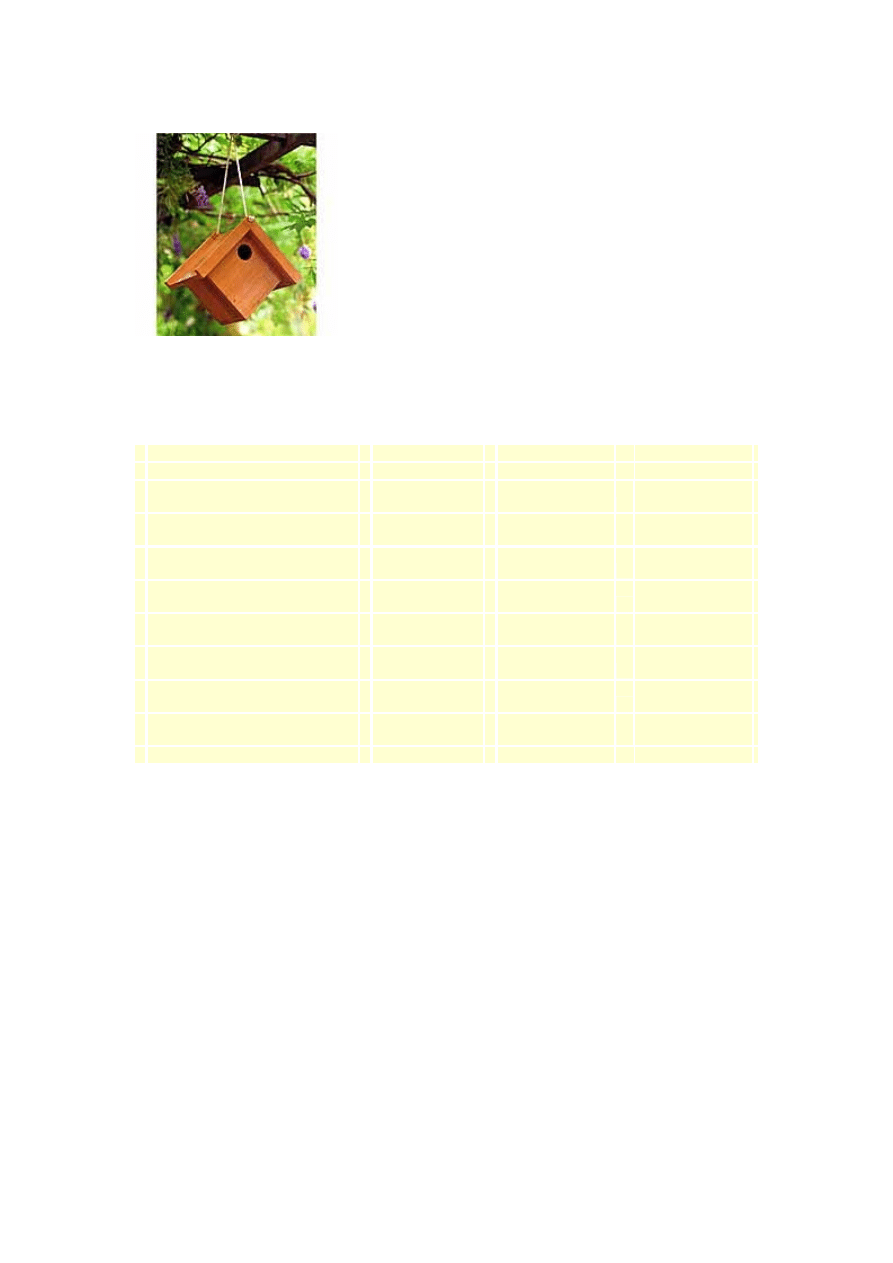
Hanging birdhouse
This diamond-shaped birdhouse is designed to be suspended from a
tree or from a tall garden structure such as a pergola.
An optional false floor can be fitted inside the birdhouse to provide a flat, stable surface for nesting birds.
MATERIALS
Part
Material
Length
No.
Front/back
225 x 25 mm
timber DAR
200mm
2
Side
175 x 25 mm
timber DAR
181mm
1
Side
175 x 25 mm
timber DAR
200mm
1
Roof panel
250 x 25 mm
timber DAR
254mm
1
Roof panel
250 x 25 mm
timber DAR
235mm
1
Lipping
50 x 25 mm
timber DAR
235mm
2
Lipping
50 x 25 mm
timber DAR
270mm
2
False floor (optional)
150 x 25 mm
timber DAR
142mm
1
OTHER
Other: Two 30mm nails; eighteen 40mm nails; six 35mm x 8 gauge brass countersunk screws; epoxy
resin adhesive; water-based timber putty; one 38 x 8mm timber dowel; one sheet of 180 grit abrasive
paper; vegetable oil (or 250ml clear acrylic varnish); 6mm sash cord
* Finished size: 258mm long; 380mm wide; 330mm tall. Timber sizes given here are nominal.

TOOLS
Combination square
Pencil
Measuring tape or fold-out rule
Utility knife
Jigsaw (or portable circular saw, tenon saw or panel saw)
Smoothing plane
Hammer
Vice
Electric drill
Drill bits: 3 mm, 5 mm, 8 mm, countersink; 50 mm hole saw
Screwdriver (cross-head or slotted)
Nail punch
Cork sanding block or electric sander
CUTTING OUT
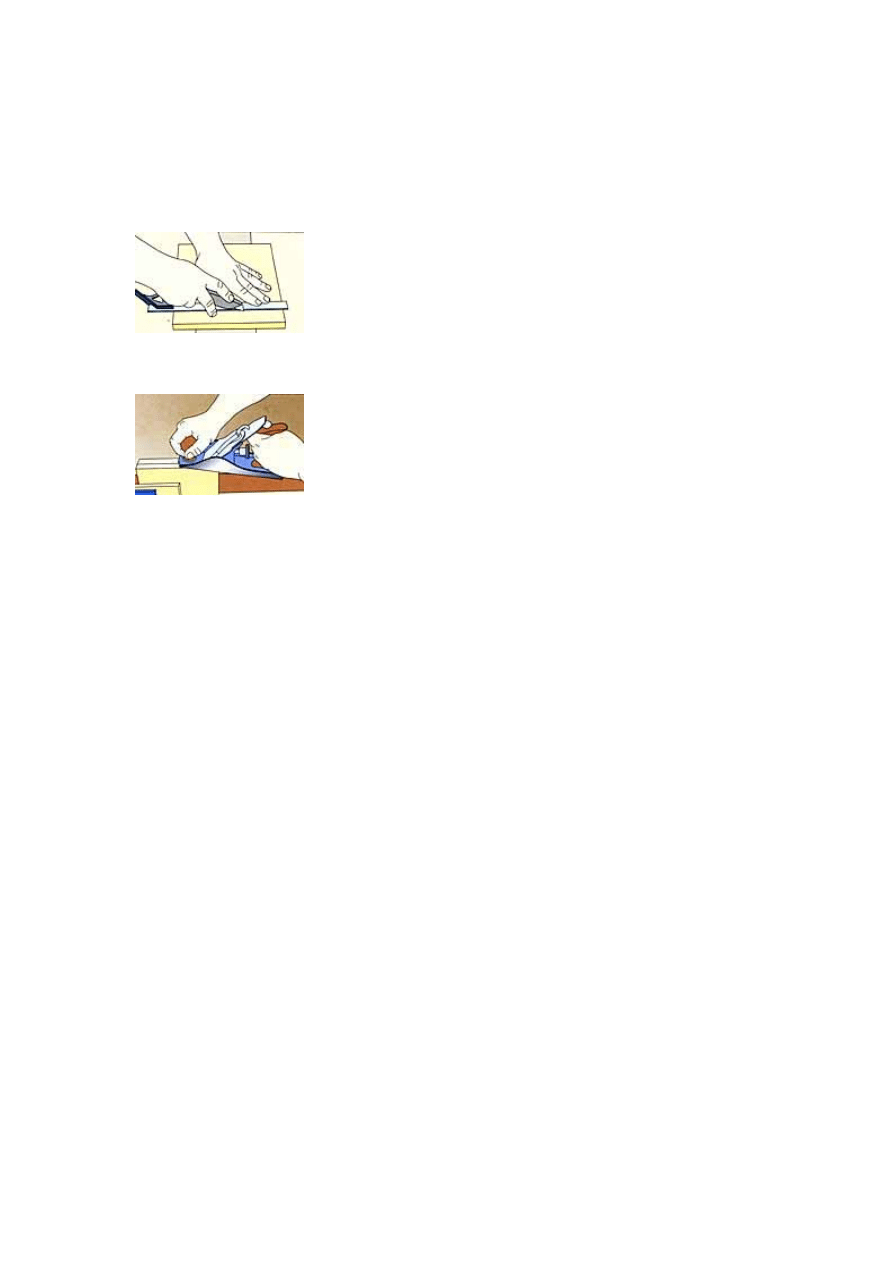
1. The material should already have surfaces dressed square and smooth. Check that the edges are
straight and square. If necessary, plane one edge.
2. Use the combination square and pencil to set out the parts along the timber. Leave a 5mm space
between each part to allow for saw cuts and planing back. Once you are satisfied that the sizes are
correct, square the lines around the timber with a pencil. Use a combination square and utility knife to
score over the lines to cut the cross-grain fibres.
3. Use a jigsaw (or alternative saw) to cut the components to rough sizes. Temporarily nail the front and
back pieces together using two 30mm nails, then place the pieces in a vice and plane them to the
marked lines. The finished width will be 200mm. Make sure the edges are square.
4. Following step 3, bring all the remaining components to the correct lengths specified in the
instructions and in the above plan.
5. Take the front and back pieces and mark the bottom corner with a cross. Measure out 70mm each
way from the marked bottom corner - this measurement is for the two screws seen on the front and
back. At the 70mm points, drill a 5mm hole 9mm in from the edge, then countersink the holes.
6. Take the 181mm long side piece and cut and plane it to a width of 142mm. Next, take the 200mm
long side piece and cut and plane it to a width of 142mm. Mix a small amount of epoxy resin adhesive
and apply a little to the short edge. Start two 40mm nails 9mm in from the edge and about 25mm in from
each side. Bring the two side pieces together to form a 200 x 200mm right angle, then finish nailing the
pieces together.
7. Separate the two nailed front and back pieces. Apply some adhesive to the edges of the right-angled
piece and place the front piece in position, aligning it with the sides. Fix the front piece with a 40mm nail
near the outer end. Use two 35mm screws to complete the attachment of the front piece. Repeat for the
back piece, to create a basic box shape.
ADDING THE ROOF
8. Turn the box so that it sits on the workbench with its roofless top face upwards. Apply a little adhesive
to the three exposed edges. Place the 235mm long roof panel flush with the top edges of the box,
ensuring there is a 20mm overhang at each side. Fix this panel to the box using three 40mm nails, one
in the front piece, one in the back and one in the side piece.
9. Turn the box over so the open side faces up. To insert the dowel, first locate the centre of the side
piece along the top edge and drill an 8mm hole to a depth of 30mm. Take the 254mm roof panel and lay
it in position on the box. Along the top edge, measure in 50mm from each side and 9mm in from the
edge for the screw holes. Drill a 5mm hole at each point and countersink the holes. On the underside,
mark the position for the dowel hole and drill an 8mm hole to a depth of 10mm. Apply a little adhesive to
the dowel hole in the box only, and then insert the 38 x 8mm dowel. Do not apply any of the adhesive to
the hole in the roof panel.
10. Fit the roof panel in position and fasten it down with two 35mm brass screws. Do not use adhesive-
you will need to remove this roof panel later in order to insert the false floor (see step 17) and to clean
the birdhouse.
11. Lay the box face upwards and apply a little adhesive to the front edge of the removable roof panel.
Take a 235mm long lipping, which should be cut to a width of 35mm, and attach it to the roof panel.
Keep it flush with the inner face and outer edge of the roof. Use 40mm nails to fasten the lipping, which
should be flush with the upper edge of the roof. Apply some adhesive to the other edge of the box and
attach a 270mm long lipping (which should be cut to a width of 35mm). Turn the box over and repeat the
process for the lippings on the opposite side.
12. With a combination square, measure vertically upwards 215mm from the bottom apex of the box,
then mark the position. Use a 50mm hole saw to make the entrance hole in the front of the birdhouse.
FINISHING THE BIRDHOUSE
13. Use a combination square to mark vertical lines 14mm down from the top apex of the lipping. Mark

these lines on both the front and back of the box. Drill an 8mm hole at these positions.
14. Punch all the nails below the surface and fill them with timber putty. Sand the unit well with 180 grit
abrasive paper, working in the direction of the grain.
15. This birdhouse is finished with two coats of vegetable oil applied with a pad of steel wool soaked in
the oil. Wipe off any excess with a clean, dry cloth. Leave the birdhouse for a few days to allow the oil to
soak into the timber before applying a second coat of oil.
16. To finish, pass a piece of 6mm sash cord through the holes and secure with a 'figure 8' knot. The
birdhouse is now ready to hang. You may also want to fit a false floor in the birdhouse at this point.
ADDING A FALSE FLOOR
17. A false floor can be inserted in the birdhouse to give the birds a more stable and even place to nest.
This false floor simply rests inside the birdhouse and is not nailed in place. Don't insert it until after you
have sanded, stained and found a position for the birdhouse. Take the 142mm long timber for the false
floor and cut it to 125mm wide. Use a smoothing plane to bevel the two long edges to 45 degrees, so
that the floor sits neatly in the base of the birdhouse.
18. Drill four or five drainage holes in the false floor, unscrew the roof panel as discussed in step 10, and
insert the false floor. If you want, you could also drill drainage holes in the bottom apex of the birdhouse.
Wyszukiwarka
Podobne podstrony:
Bird house traditional birdhouse
Bird house cupola birdhouse
A building a bird house
A building a bird house
BIRD HOUSE various birds guidance
BIRD HOUSE various birds guidance
Bird House
Bird house Cedar
Hanging birdhouse
Bird House nesting box
Isobel Bird [Circle of Three 11] The House of Winter (lit)
7 House of Korba (The Ghost Bird)
3E D&D Adventure 06 House of Harpies
Dolls house 2
16 Dom Wschodzącego Słońca [The House Of Rising Sun]
Hanging Ceiling
house list word impr, ANG
2 bedroom two storey house T shaped
więcej podobnych podstron