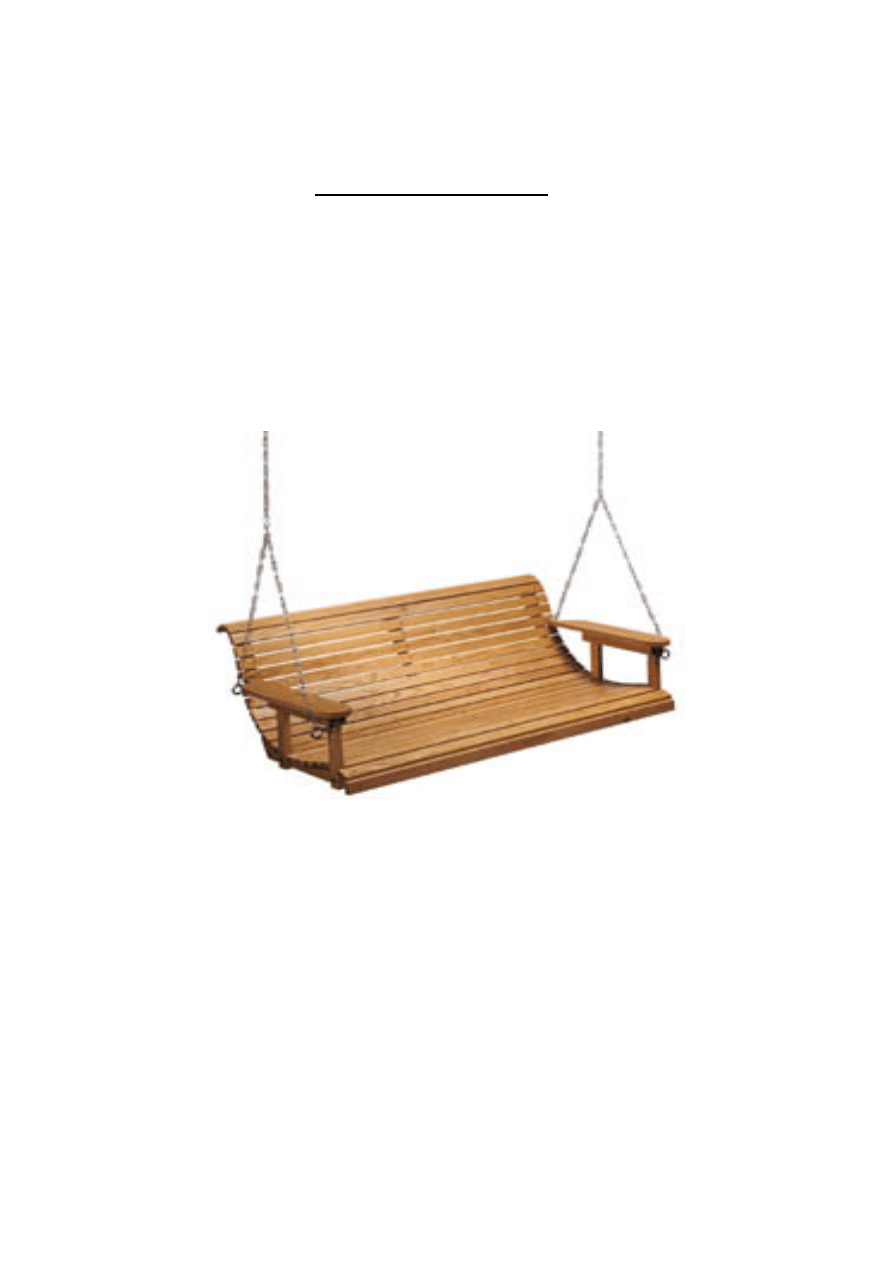
PORCH SWING
Roseand Copyright ©2004
STEP 1:
Plane your stock for the three back supports
(B)
, three bottom supports
(C)
and 21 slats
(A)
to the desired thickness.
Our guidelines call for 7/8-inch, 7/8-inch and 5/8-inch, respectively. Remember, you may choose to make these parts
thicker if you are lengthening the swing or using lumber that may not be as strong as oak.
Roseand Copyright ©2004
STEP 2:
Cut the back supports
(B)
, bottom supports
(C)
and slats
(A)
to size/length, according to the
List of Materials.
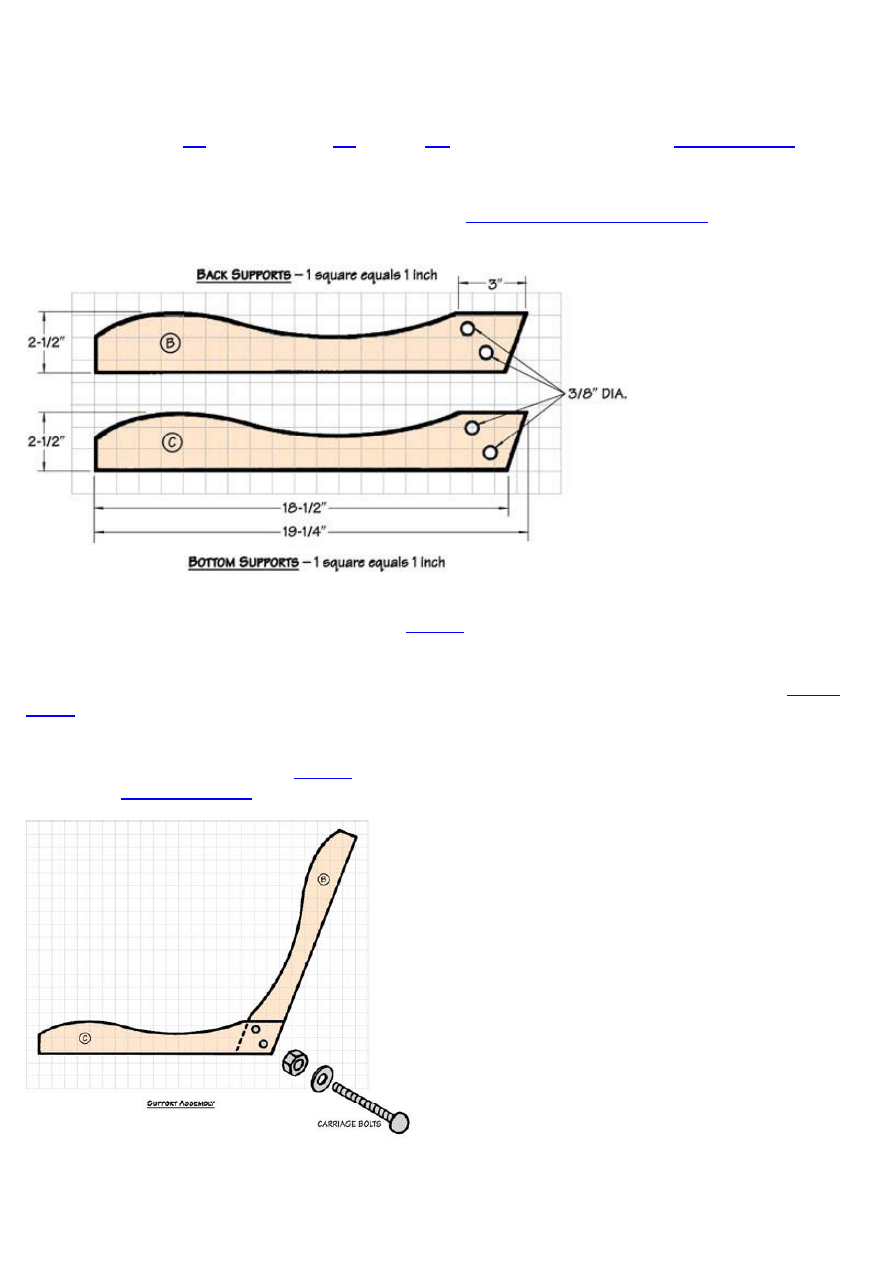
STEP 3:
Using your bandsaw or scroll saw, cut out the contours for the
back and bottom supports (B & C)
. For best results, use
the pad sawing technique with double-faced tape to cut multiples of the same profile at the same time.
STEP 4:
Using your drum sander, sand all the support profiles
(B & C)
while they’re still taped together.
STEP 5:
Again . . . while they’re still taped together . . . drill 3/8-inch diameter holes at the locations indicated in the
support
pattern
.
STEP 6:
Untape the back and bottom supports
(B & C)
and assemble them with carriage bolts, washers and nuts. Tighten
securely (see
Support Assembly
).
Roseand Copyright ©2004
Wyszukiwarka
Podobne podstrony:
porch swing
Porch Swing
Swing porch swing2
ProcChem swing W2
java swing
porch border
Bridgewater Bench Swing lawka
Garden Swing
Glider Swing(2)
BOM swing id 91701 Nieznany (2)
Formenti Swing
Swing Index, giełda(3)
swing-referat
Octavia CarRadio Swing
RANKIEM – SWING
Accumulation Swing Index, giełda(3)
więcej podobnych podstron