Welcome to your fourth face painting lesson!
Your fourth lesson will include:
1. "An Easy Step-by-Step Guide to Painting a Puppy Dog!"
2. "What Sponges Are Used For in Face Painting and Where to Find Them"
3. "Mixing Colours"
4. "Painting Tricks & Techniques Part 2"
5. "Hygiene Tips"
6. "Get More Designs Now!"
Have Fun Face Painting !!!
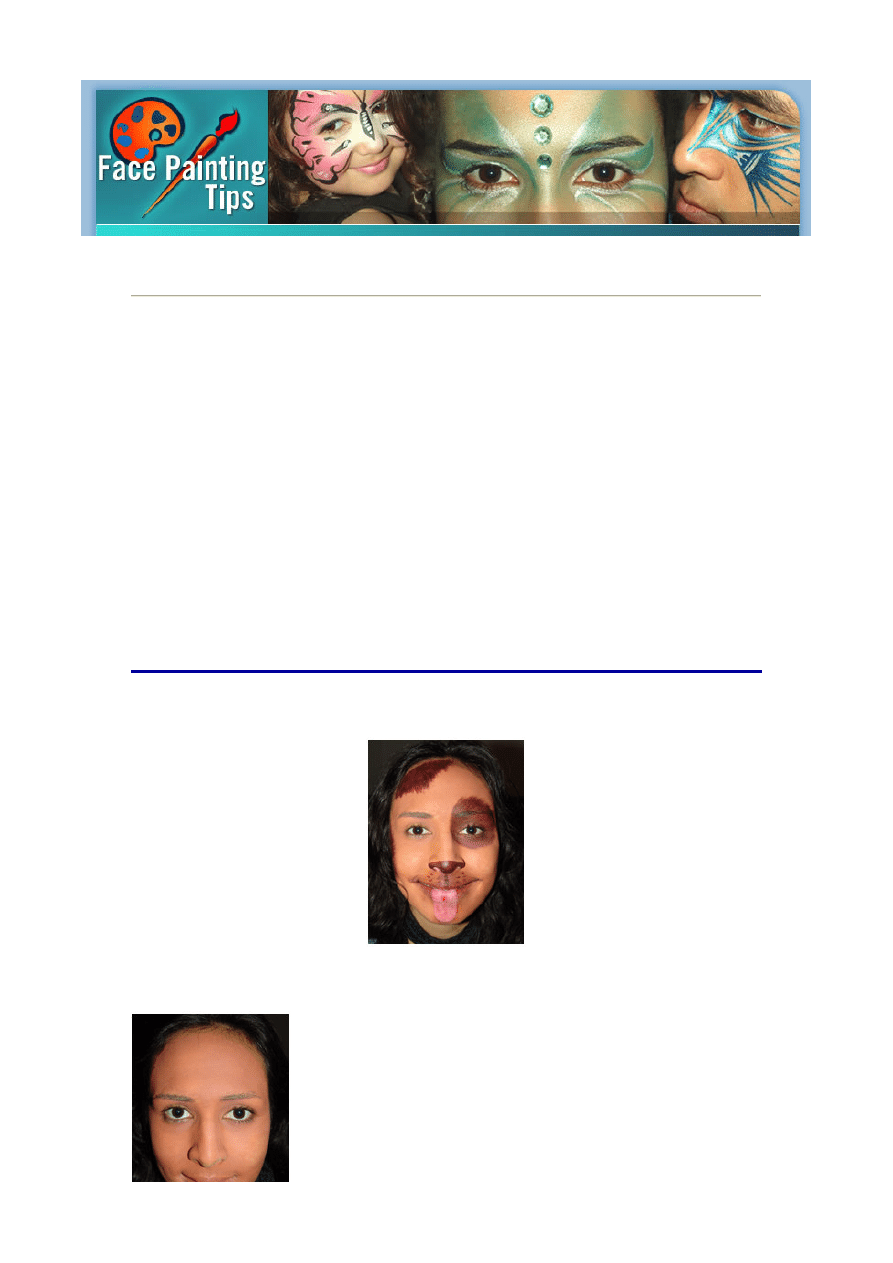
"An Easy Step-by-Step Guide to Painting a Puppy Dog!"
Step 1: Sponge the whole face with light brown including lips.
Página Web 1 de 5
30-04-2007
http://www.facepaintingtips.com/fplesson4.html
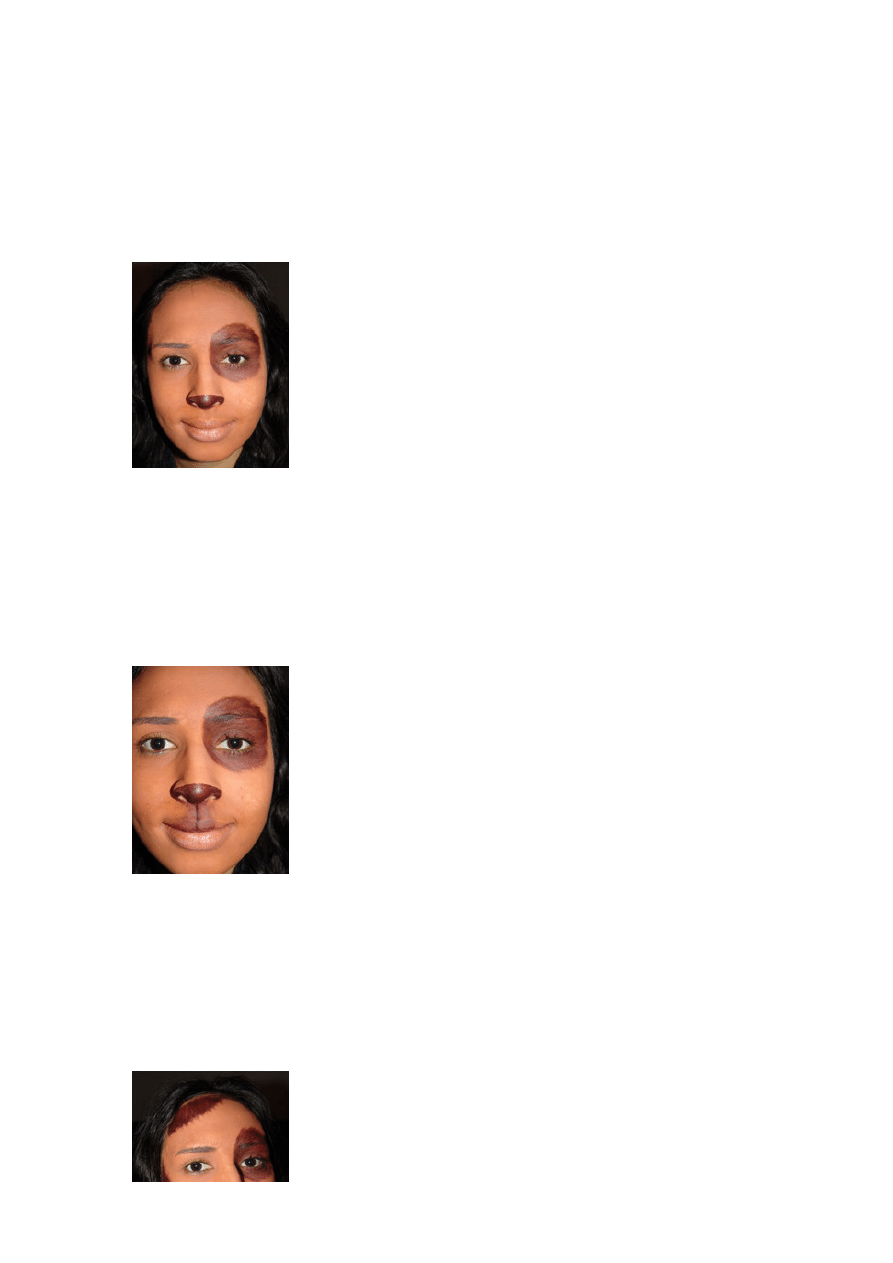
Tip: To create brown, mix red with a small amount of black depending on your paints you may
need to add yellow. To create light brown use half of the brown you have made and simply add
white.
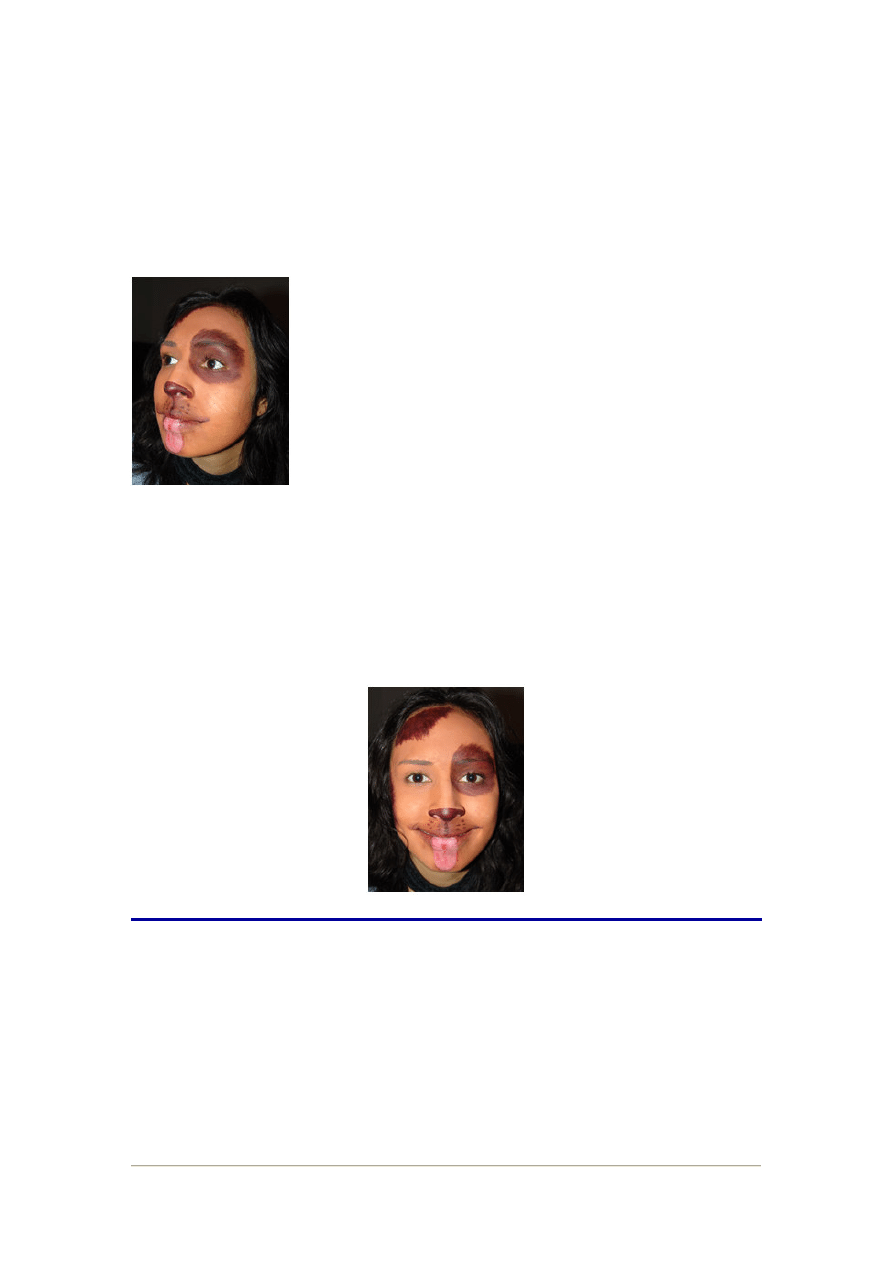
Step 2: Use a medium sized brush to paint brown (that you have already made) around the eye
to create a circular patch. You can give the patch a fur like effect by making the edge of the circle
rough. Then paint the tip of the nose .
Step 3: Smudge with a sponge a bit of the brown underneath the nose to the bottom of the upper
lip. Then paint a brown vertical line from the underneath the nose to the bottom of the upper lip.
Página Web 2 de 5
30-04-2007
http://www.facepaintingtips.com/fplesson4.html
Step 4: Paint two more patches, one on the forehead and one on the side of the cheek.
Tip: If you're feeling adventurous you can add more colour to the patches to create dimension
such as the lighter brown.
Step 5: Use the pointed brush to paint brown dots on both sides of the vertical line underneath
the nose. With a sponge, smudge the brown on the lower lip down to the chin. This will give the
tongue that you will paint over top a sense of depth.
Use light pink to paint a tongue from the top of the bottom lip down to the chin. Then use a
pointed brush to paint a red line down the centre of the tongue and a bit on the side.
And that's all there is to it!
"What Sponges Are Used For in Face Painting and Where to
Find Them"
Sponges are an important tool to have in your face painting kit. They are used to achieve a
variety of different techniques. They’re great for sponging on white base coats, can be used to
apply large amounts of paint onto the face and can also be used to blend colours.
Sponges can be found at most cosmetic stores, art supplies stores online and offline (and you
could even try your local grocery store for sponges that are usually used for cleaning –
sometimes they work just as fine and if they don’t use them for the cleaning up! Experiment and
find what works for you!
Página Web 3 de 5
30-04-2007
http://www.facepaintingtips.com/fplesson4.html
"Mixing Colours"
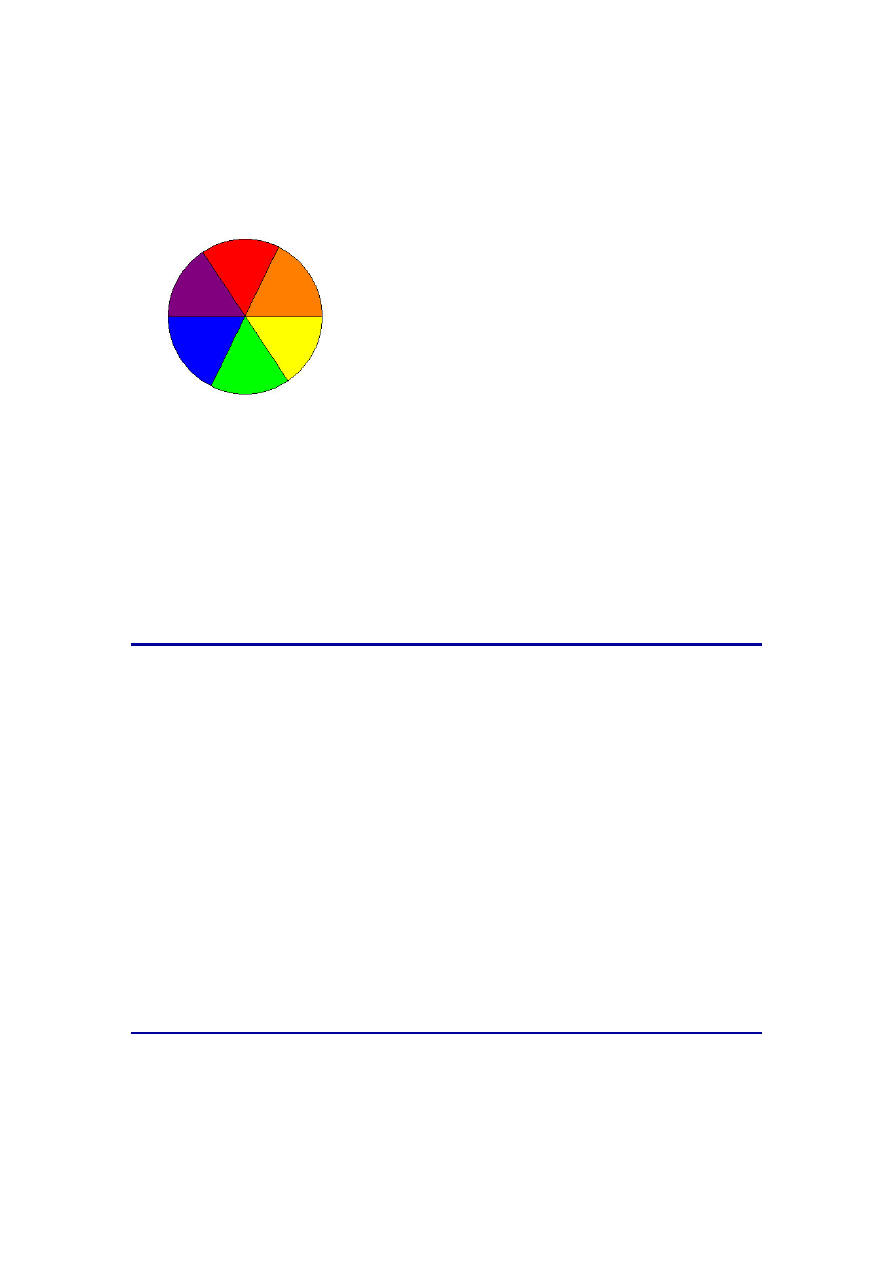
This is a quick art lesson on colours. There are three primary colours - Red, Yellow and Blue.
These are the essential colours you will need to start face painting not forgetting white and black.
Every product is different and will create slightly different colours. Therefore, experiment with your
colours to get the best result. As the colour wheel shows below to achieve secondary colours
(Orange, Green and Purple) you mix two of the primary colours.
2 Primary Colours = Secondary Colour
Red + Yellow = Orange
Yellow + Blue = Green
Blue + Red = Purple
Examples Of Other Colours You May Want To Know
Red + White = Pink Blue + White = Sky Blue Yellow + White = Canary Yellow
Purple + White = Lilliac Orange + White = Tan Green + White = Mint
Red + Black = Brown Blue + Black = Navy Blue Green + Black = Forest Green
Blue + Green = Aqua Marine
Just sit down and have fun with your paints, you will be more confident with mixing colours in the
field if you've done it before. Just use a small amounts and figure out the ratio that is needed, a
tip usually you only need a tiny amount of black.
"Painting Tricks & Techniques Part 2"
How Do I Paint Thin Lines?
In order to paint a nice thin line use a small pointed brush (that has bristles approx. 1cm long).
Make sure the brush is fully saturated with paint, paint off any excess paint onto your plaette
before you start. You don't want a big bloch at the start of your line. Use the point of the brush to
mark the start of the line then gently pull the tip of the brush steadily across the face in the
direction you want. To paint a thin line you’ll want to try and get it right in one go as it is hard (not
impossible, but hard) to redo/ re-touch!!
How Do I Paint a Fat to Thin Line?
To paint a line that starts off fat and ends thin, use the fattest part of the bristles on a pointed
brush to start the line. Pull that part of the brush steadily across the face in the direction you want
and gradually apply less weight on the brush as you go, therfore ending the line using the
thinnest part of the bristles.
Tip: Before painting the face practice painting lines on your hand/arms/legs to get a good ‘feel’ for
your brush and to see at what angles/sides are best to use it!
"Hygiene Tips"
Hygiene is extremely important in face painting. There are certain rules to follow just like in any
other industry.
Firstly never paint someone who has:
Página Web 4 de 5
30-04-2007
http://www.facepaintingtips.com/fplesson4.html
Copyright 2006 Philadelphia Tivoli
Any open cuts or sores on their face.
A cold sore or conjunctivitis or any other known infectious skin condition.
A food allergy or allergic reactions to soaps, skin creams, etc without a prior skin test.
Secondly all brushes/sponges/palettes must be cleaned or replaced after painting someone and
before painting the next person. This might sound time consuming but brushes and sponges can
quickly be rinsed under hot water (as this will kill the germs), and you can use small pieces of
plastic (e.g. clean plastic take away containers/lids) for palettes that you can throw out once
used.
And as far as painting on the lips - use a cotton bud (q-tip) which you can then throw away after
it’s used. Most professional paints have anti-bacterial qualities, but to be safe follow the tips
above.
"Get More Designs Now!"
If you liked this design, found this information useful and want more now... then get your hands
on "The Comprehensive Guide to Face Painting".
It makes face painting fun, easy and quick to learn with 50 popular face painting designs and
easy step-by-step guides, you'll be face painting like a professional in no time!
Click here now to learn how to face paint with more face painting designs!
I hope you've enjoyed lesson 4 of your 5 free face painting lessons! Lesson 4 will be in
the mail tomorrow with a tiger face painting design.
There are heaps more great face painting tips to come so get your paints out and get
ready!!!
Google Site Stats - send feedback
Página Web 5 de 5
30-04-2007
http://www.facepaintingtips.com/fplesson4.html
Wyszukiwarka
Podobne podstrony:
face painting lesson 3 id 16748 Nieznany
face painting lesson 3 id 16748 Nieznany
face painting lesson 5
face painting lesson 1
face painting lesson 2
lessons from Finland id 267314 Nieznany
erg face id 163020 Nieznany
3 Face mill id 33659 Nieznany
Abolicja podatkowa id 50334 Nieznany (2)
4 LIDER MENEDZER id 37733 Nieznany (2)
katechezy MB id 233498 Nieznany
metro sciaga id 296943 Nieznany
perf id 354744 Nieznany
interbase id 92028 Nieznany
więcej podobnych podstron