CONFIDENTIAL
1 (4)
Customer and Market Operations
Service Bulletin No. SB-014/13.12.04
EMEA Customer Care
RM-1
RoHS compliant
INSTRUCTIONS HOW TO REPAIR USB FLASH FAILED DEVICES
Needed HW / SW:
TYPE
DESCRIPTION
NOTE
FPS-10 Flash
Prommer
AD-23FS
Flash Adapter
or MJ-26 Module Jig
CU-4 Control
Unit
PCS-1 Power
Cable
XCS-4 Modular
Cable
Erase Image
Erase_rap_adl_loader.fps8
Procedure:
1. Make sure latest RM-1 data package is downloaded and installed
2. Make sure that the data package includes the same variant that was
previously used in the device
3. Attach RM-1 device to Flash Adapter AD-23FS (or Module Jig MJ-26)
4. Attach all necessary cables
5. Download Erase Image erase_rap_adl_loader.fps8 file from PWS and
save it to your hard drive location e.g. C\Temp
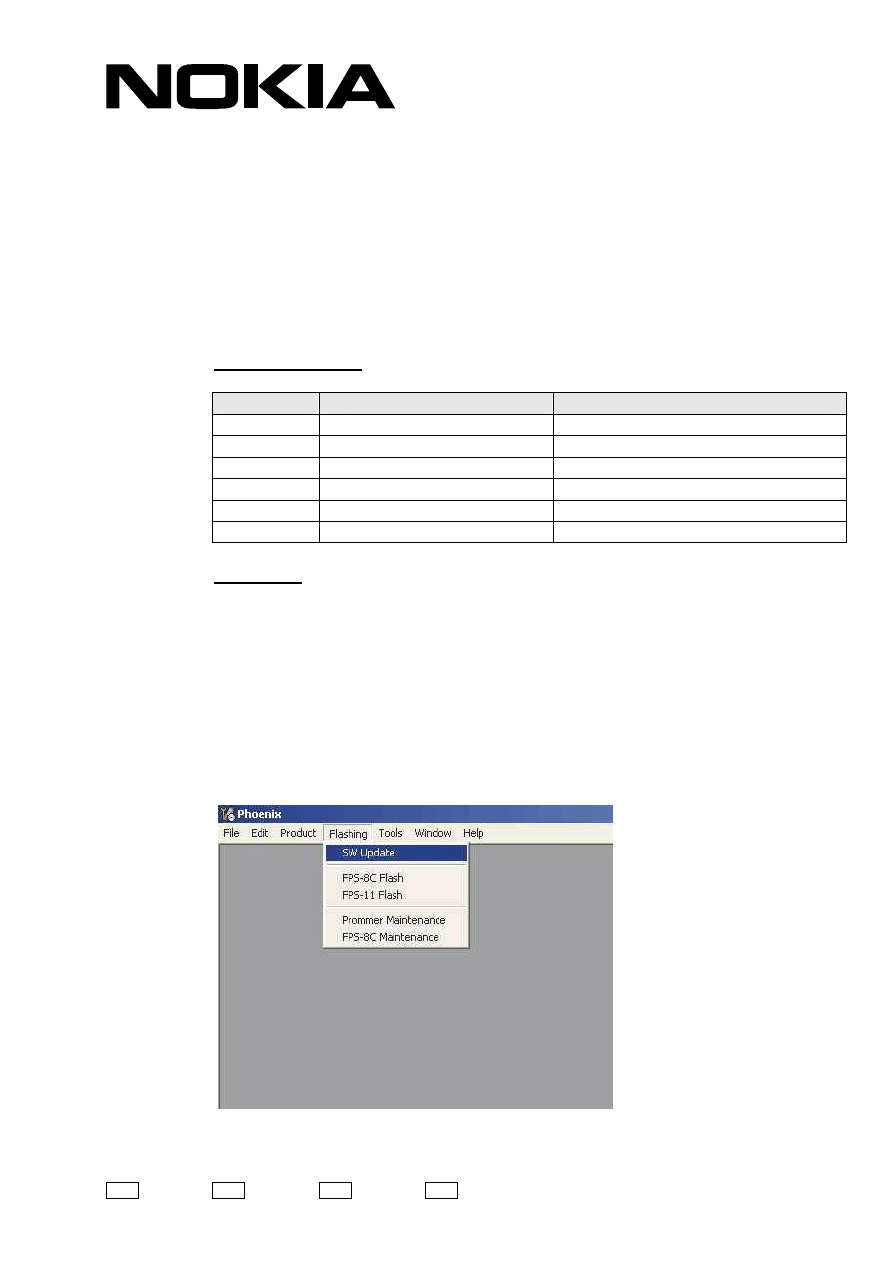
6. Start Phoenix. Do not try to scan product or open product.
7. Choose Flashing -> SW Update
Level 1
Level 2
x
Level 3
x
Level 4
Ref.
RM-1 SB-014
Copyright © Nokia Corporation 2004
CONFIDENTIAL
2 (4)
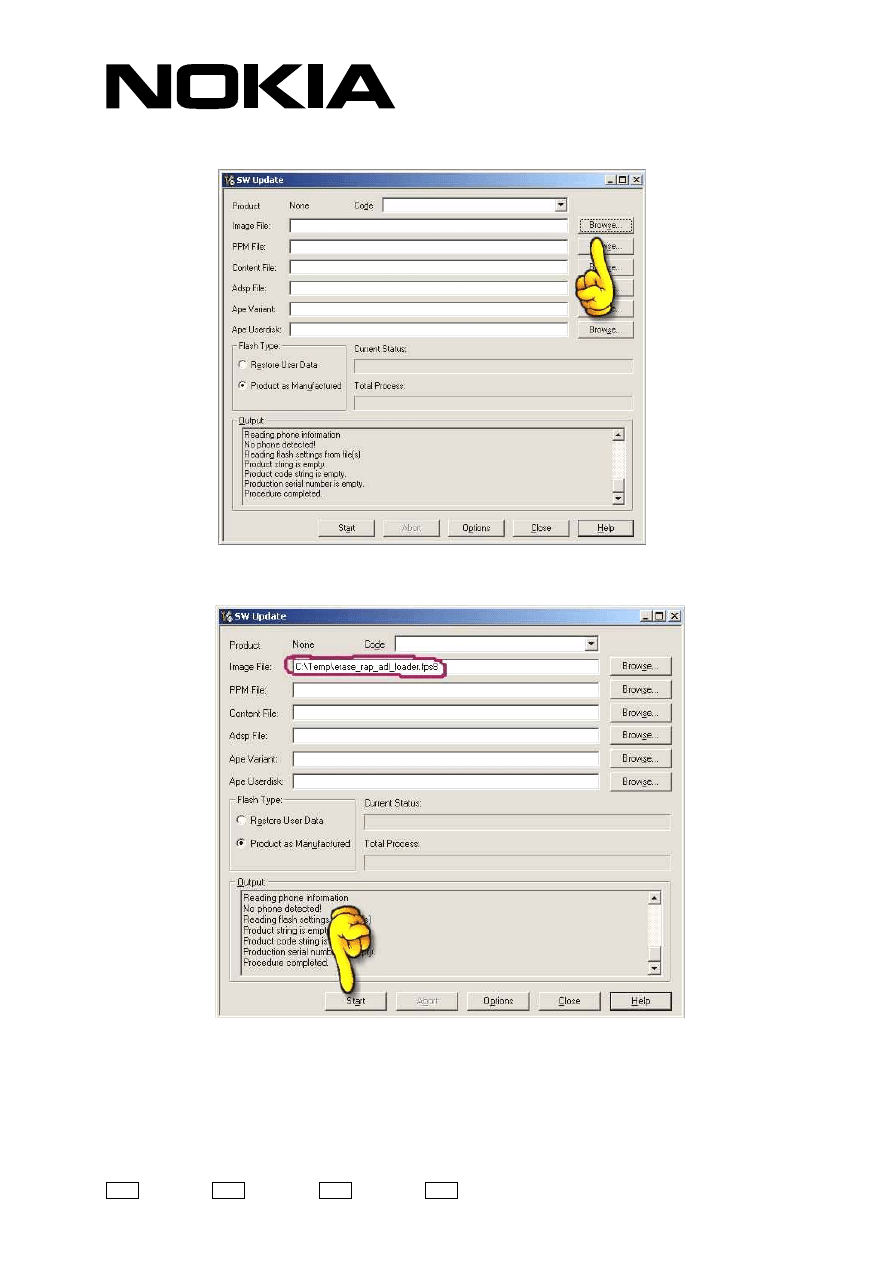
8. Select Browse and select directory where you saved the erase file e.g.
C:\Temp
9. When file has been selected, press Start
Level 1
Level 2
x
Level 3
x
Level 4
Ref.
RM-1 SB-014
Copyright © Nokia Corporation 2004
CONFIDENTIAL
3 (4)
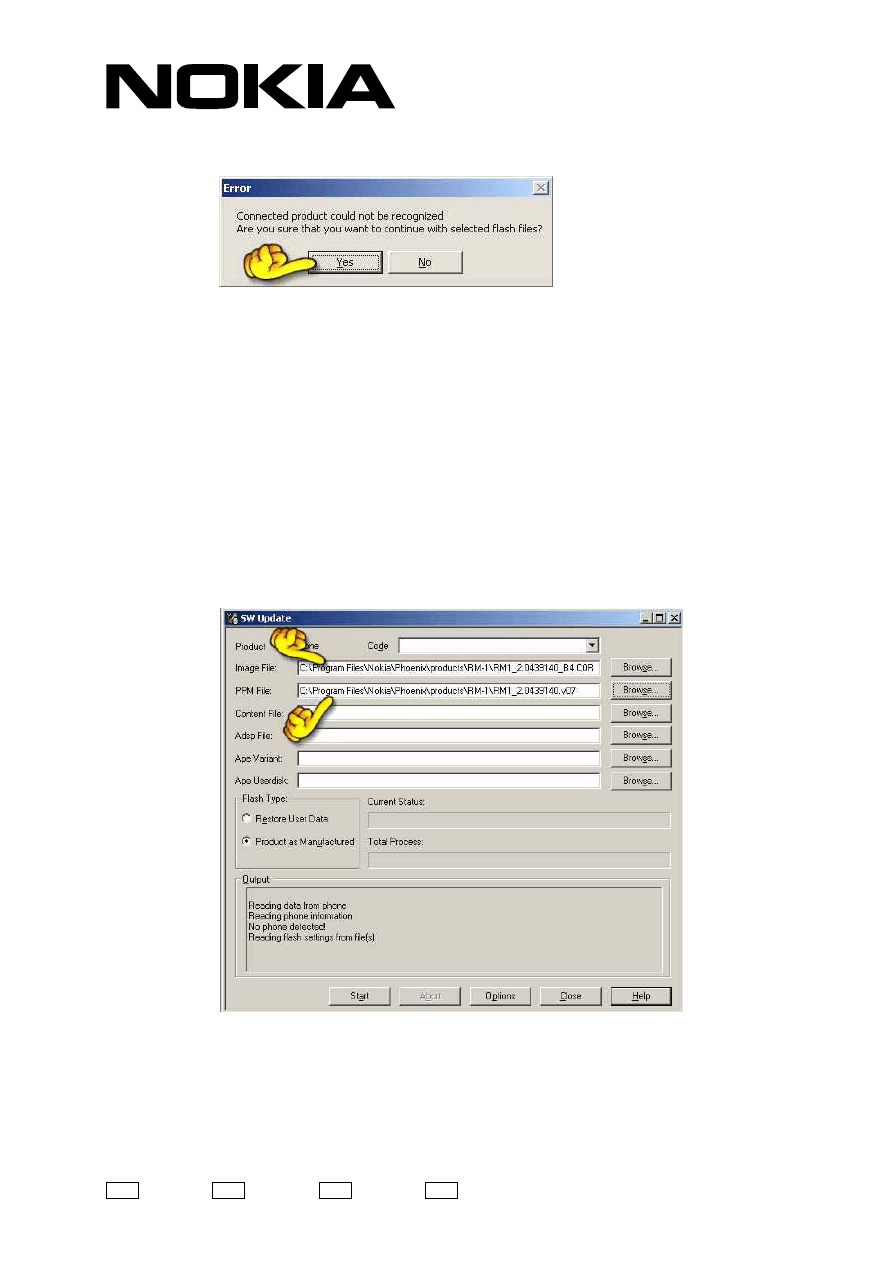
10. At this moment Phoenix gives error-message, but press Yes to start
flashing.
11. When flashing is completed there might come screen where user is
instructed to turn power on to phone. If this kind of screen appears press
Cancel.
12. After erase file has been successfully flashed, you must flash device with
correct device software.
13. Flashing files must be selected manually because device is not yet fully
functional
14. Select right files for Image File and PPM File boxes
-
Image File is typically in c:\Program Files\Phoenix\Products\RM-1\
directory and filename ending is .C0R
-
PPM File is typically in the same directory as Image File. E.g. Euro
1 variant PPM file ending is .v02. At this moment it is possible to
select any PPM file because phone must be flashed one more time
to ensure that device is returned to customer with correct variant
Level 1
Level 2
x
Level 3
x
Level 4
Ref.
RM-1 SB-014
Copyright © Nokia Corporation 2004
CONFIDENTIAL
4 (4)
Level 1
Level 2
x
Level 3
x
Level 4
Ref.
RM-1 SB-014
Copyright © Nokia Corporation 2004
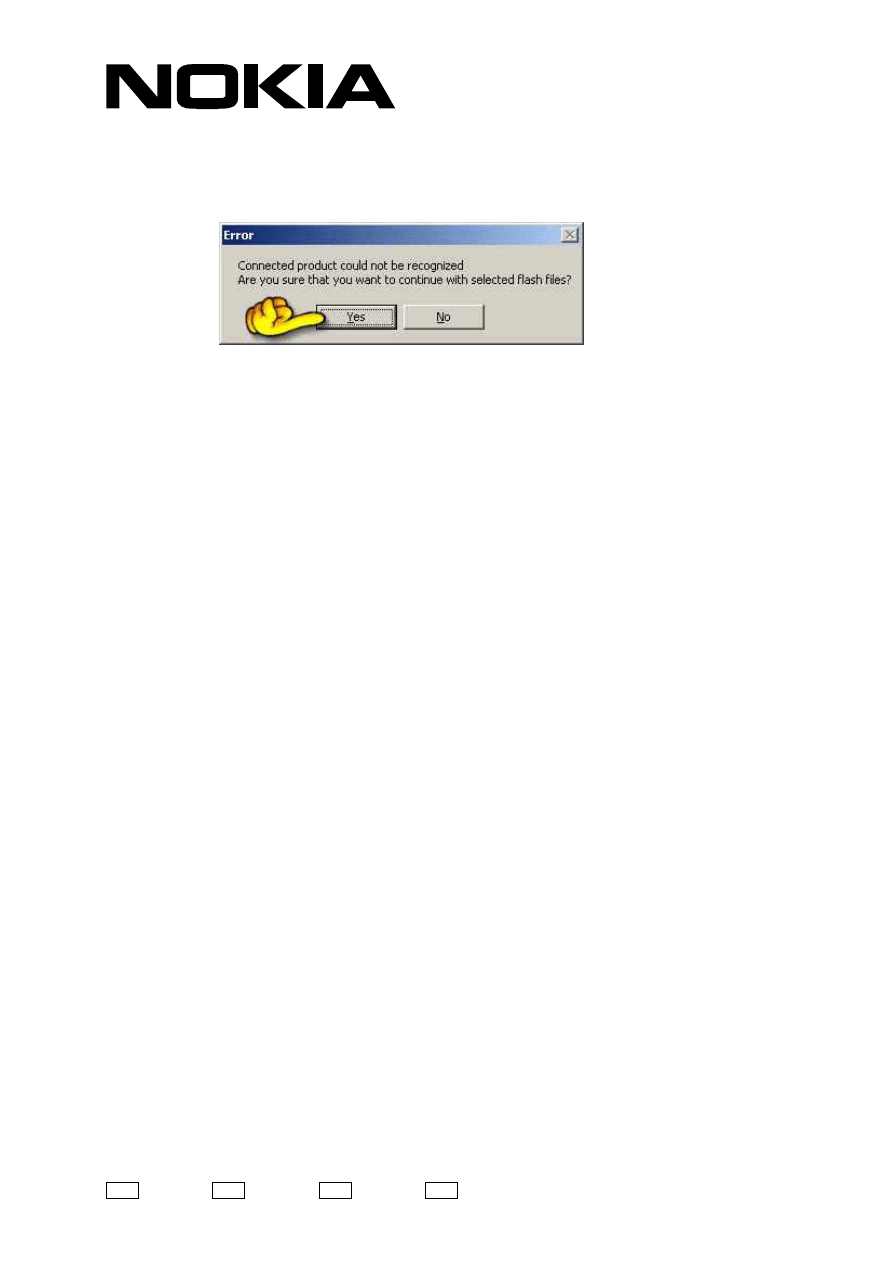
15. When right files are now selected to Image File and PPM File Boxes press
Start.
16. Most likely Phoenix gives an error message after pressing start, but this is
normal. Press Yes and flashing continues.
17. When device is successfully flashed, close SW-Update screen
18. Now Phoenix recognize RM-1 device normally
19. Choose Flashing -> SW-Update
20. Phoenix reads device product code and selects right image file and variant
for the phone
21. Press Start and wait until flashing is done
22. RM-1 device is now fully functional again.
Document Outline
Wyszukiwarka
Podobne podstrony:
How to build a USB device with PIC 18F4550 or 18F2550 (and the microchip CDC firmware)
How to build a USB device with PIC 18F4550 or 18F2550 (Website)
how to use the flash tool for Xperia
How to read full flash from MS43
How to repair faucets(taps)
David Icke The Biggest Secret Companion Book Instructions How To Protect
How To Gyp The Tv Repairman
How to Install And Run Windows XP From USB drive
(Ebook) Survival Learn How To Hide From Airborne Infared Detection Devices, Snipers Guide
How to write firmware via USB Recovery
więcej podobnych podstron